I’ve had a lot of people writing and calling me saying they can’t find anyplace with solar filters in stock. If that’s been your case, then there’s good news. You still have time to make your own.
A number of companies (like Alpine Astronomical) sell “Solar Filter material,” which is the same material used in many solar filters, just without the mounting material. And there’s still time to order a sheet. A friend of mine here in Kansas City gave me a call yesterday saying he’d bought one, and was wondering about the best way to mount it to his lens. I gave Dave a couple of suggestions, but he did an even nicer job than I would have. Then he sent me some photos with an explanation of how he did it, shown below. And if you’re looking for tips on how to photograph the eclipse next week, read this.

First Dave used the front of his lens as a template (without the hood) to draw circles on several pieces of cardboard and foamcore. (photo by Dave Kaup)
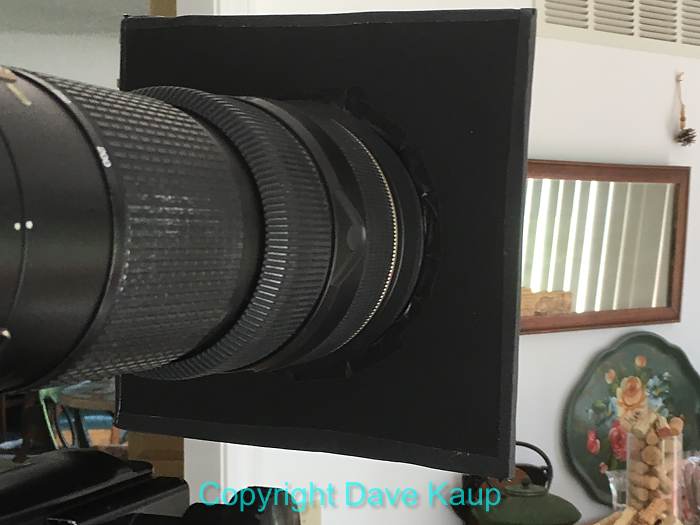
Properly measured and cut, the contraption fit snugly over the end of Dave’s 200-400mm Nikkor lens. (photo by Dave Kaup)
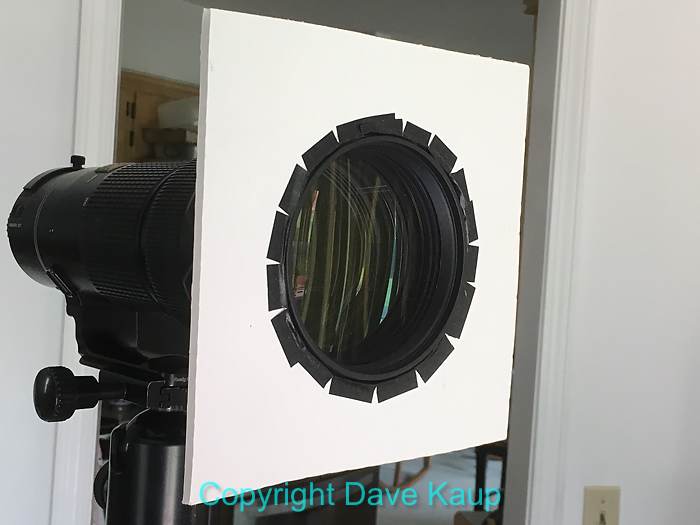
This is how it looks from the front. Note that the filter isn’t part of it yet. (photo by Dave Kaup)
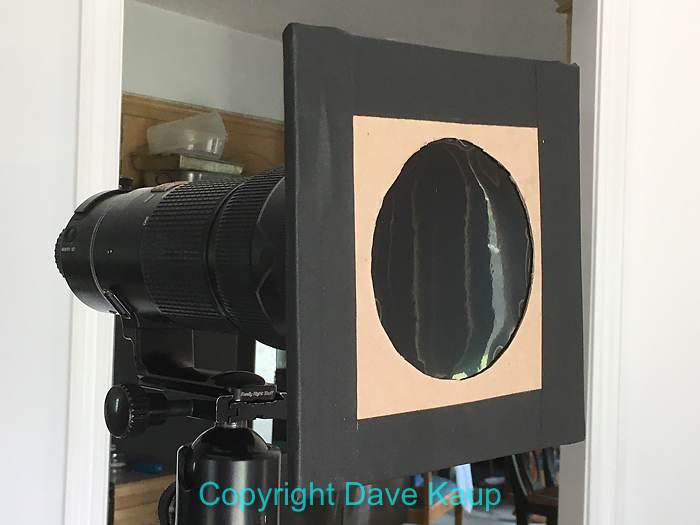
Mounting the solar film to it separately made it easy to remove from the lens. He’ll need to do that to take photos of the chromosphere and corona during totality, then put the filter back on after totality. (photo by Dave Kaup)

And the result? A good exposure of the sun, safe for both Dave’s camera and eyes. (photo by Dave Kaup)