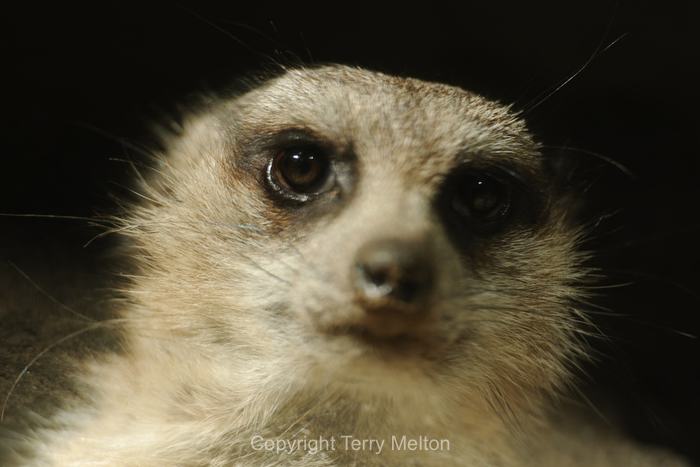
Occasionally I host small hands-on photography workshops here in Kansas City. In the past I’ve done them at Powell Gardens, but a couple of weeks ago I led one at the Kansas City zoo. Zoos are great locations for photo outings, so I booked a room and had nine people join me.
With any workshop I have two goals – I want people to learn, but also want them to have fun. I always tell the participants that their job isn’t to please me, it’s to please themselves. If you want to sell me a picture or hire you, then you better please me. But most people are doing photography as a creative outlet, for themselves. In that case what’s most important is that they have fun and like the results. My job is to help them get there.
 With that in mind, I always break the teaching down into the technical and the creative. The technical involves all the regular photo stuff like ISO, shutter speed and aperture. And these days that also means understanding when to turn image stabilization (VR for Nikon) on and off, how to take advantage of white balance and image processing controls (contrast, hue, saturation, sharpening, etc.) and all the other options that digital has given us. As with many things in life, the more choices we’ve got, the more we can do with them. But first we have to understand those choices.
 The creative side of photography is the more challenging part to teach. Most people can learn the technical with a little work and repetition – getting out to shoot regularly helps you get comfortable with those controls. But becoming creative means learning to separate how you see from how you take photos. They’re very different, and you won’t truly progress as a photographer until you realize that and start to work with it.
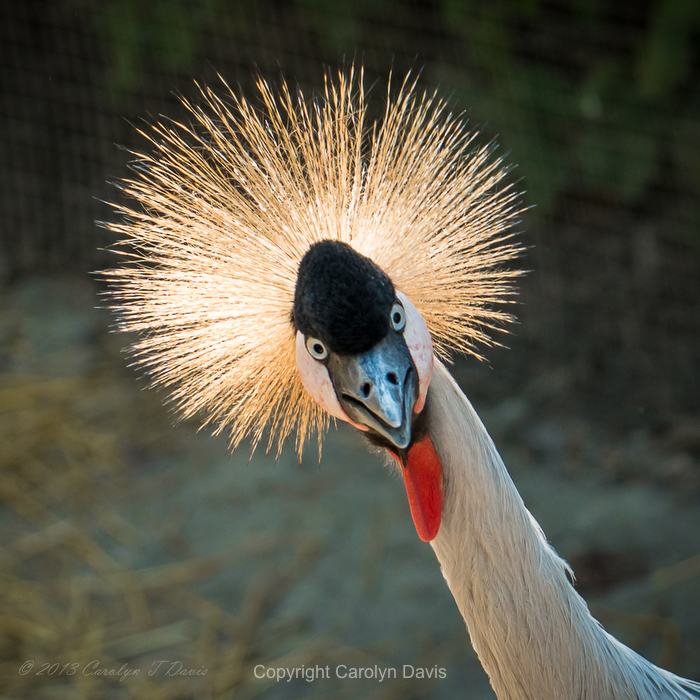
 To begin, remember the three things that make up every picture – Subject, Light and Background. You have to be clear in your mind what your subject is and how you want to portray it. Then you need to think about the light, its direction, size, quantity, quality, color, angle, etc., and decide how to make the best use of that. And finally, make sure that the background in your photo plays a supporting role. That can mean it either adds more information without being distracting, or is what we call a “clean” background. Clean backgrounds tend to be dark, and not have anything that takes the viewer’s attention away from the subject.
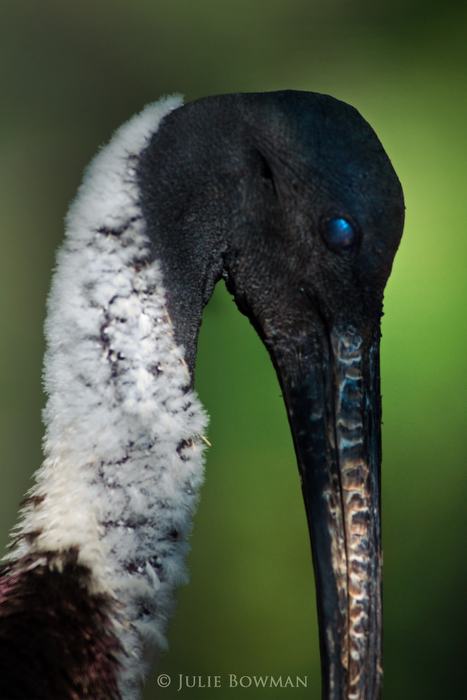
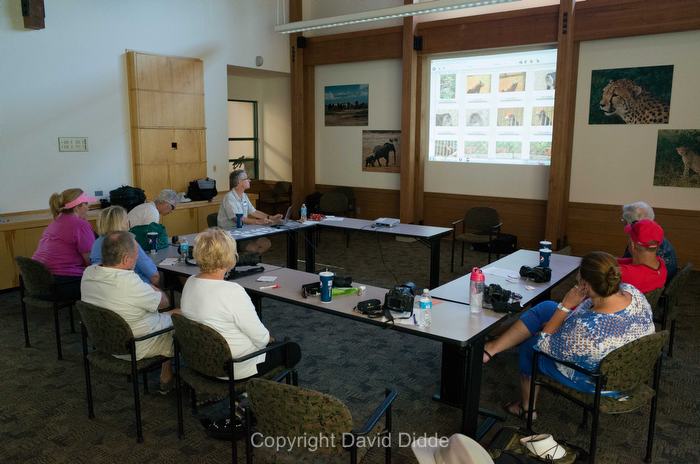
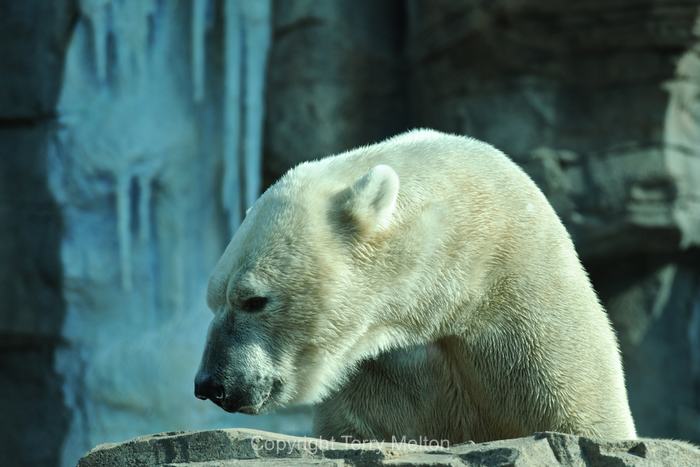
That day, after a short intro session where I covered these topics (giving them a sheet of tips and reminders) and went over the plan for the day, we headed out to shoot. Having led several workshops like this, I’ve found that with a small group what works best is a combination of shooting and reviewing images. Because the day was expected to be hot, we decided to spend the morning shooting, then return to have lunch together in the room.
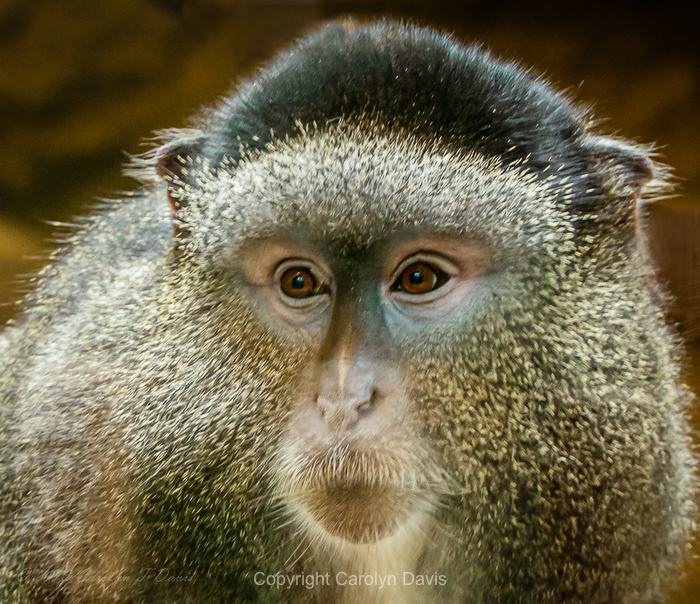 After lunch, I spent the next two hours reviewing what they’d shot. Because of the small size of the group, I could take each person’s memory card and browse it with my laptop and projector. This lets us all see the progression of how each attendee approached their subjects. We see good examples of working through light, subject and background to make a nice final image, as well as times where they didn’t go far enough. It also allows me to look at the camera’s EXIF data – the shooting information like shutter speed, aperture and ISO for each frame. Combining that with being able to zoom in to check sharpness, we’re able to see why some pictures failed and what could have been done differently to make them succeed.
 Finishing the review, we then went back out to shoot one more time. By that point some people wanted to head off on their own, and others wanted to stay with me and ask more in-depth questions, often based on what we’d discussed during the review.
 When the zoo closed at 5pm, we gathered to collect our gear and head out. I’d recently started a project to shoot some of the classic scenes around Kansas City, and had invited the group to join me for a couple of hours after the workshop doing just that. Most were able to, so we started at the Kauffman Center for the Performing Arts. A relatively new addition to the Kansas City skyline, it’s a beautiful structure that’s a lot of fun to photograph, especially in late afternoon with strongly angled light.
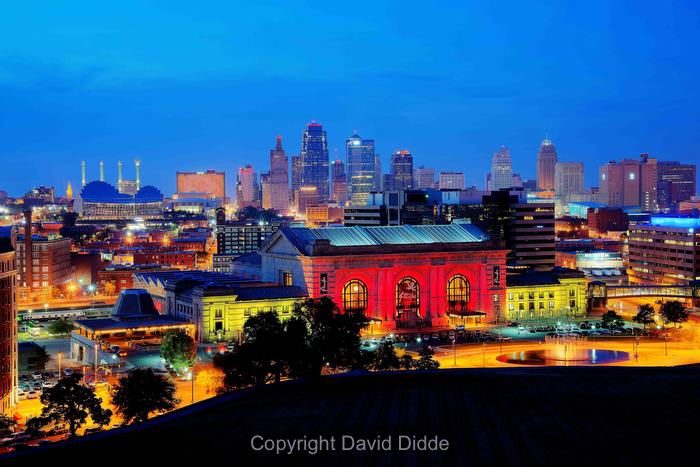
 After stepping across the street for dinner at a Mexican restaurant, we finished our day shooting Union Station at dusk with downtown in the background. I think the margaritas improved our pictures!
 It was a long and tiring day. But those are two things I always hope for in a workshop. To improve as a photographer you have to get out and shoot, and time to do that seems to be harder and harder to find. A good workshop should give you plenty of photo opportunities and send you home with both improved skills as well as some nice photos. And to me, the social side of shooting together is an added bonus. I think photography’s more fun when done with other people. In a group you can feed off each other’s ideas and energy, and have fun to boot.
Hopefully everyone had a good time and learned a bit too. Photography can be a life-long educational process, if we push ourselves to explore the world around us and expand our creative abilities. Whether you take a workshop or just take a walk with your camera, always be looking to do something new. Photo opportunities abound, we just need to be open to them. So get out there and shoot!
(I’m working on plans to have several more workshops in Kansas City over the next year. Some afternoon/evening half-day, some full-day and perhaps a two-day class. And, as I regularly drive through St. Louis, I’m also starting to work on an itinerary for a two-day workshop there, probably next spring. If you’re interested in any of these, let me know and I’ll add your name to the mailing list.)