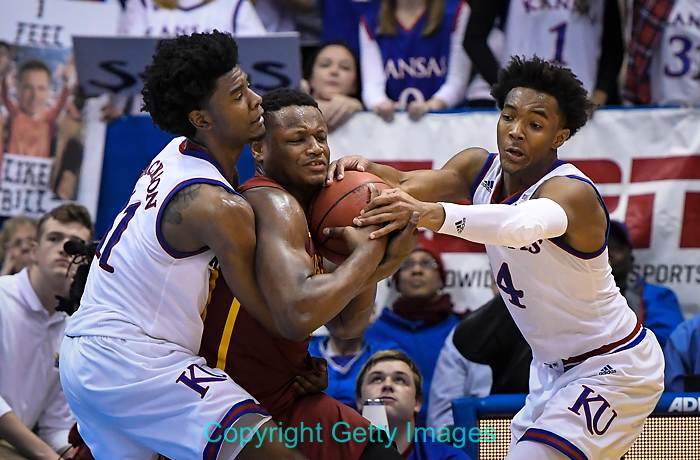
I’ve always enjoyed photographing sports. Each one requires knowledge to anticipate where the key action, or moments, might happen. Some, like golf, are physically demanding (no golf carts for photographers!), Baseball is all about fast reaction and timing. And a big part of football photography, especially with the NFL, is not getting blocked by the hundreds of other people on the sidelines. But my favorite sport to shoot is basketball. Only ten players and three officials on the court, and you can cover the entire game from one spot with two cameras and the right lenses. Last weekend I was hired by Getty Images to cover the Kansas Jayhawks basketball game against Iowa State. Here’s how I did that…
The first thing needed is a photo pass, so I can be courtside. Being a major news organization, Getty took care of that for me. People often ask me how to get credentialed for sporting events. The short answer is unless you’re working for a well-known media company, you probably won’t. There’s limited space, so those spots will go to the people who are working for a legitimate news organization.
Next is to prep the equipment to do the job. Here’s what I took to the game:
Nikon D5 with two batteries
Nikon D500 with two batteries
Nikkor 200-400mm f/4 lens
Nikkor 70-200mm f/2.8 lens
Nikkor 16-80mm f/2.8-4.0 DX lens
Five 32GB Lexar XQD cards, two readers (one as a backup)
MacBook Pro 13-inch laptop with power supply
That’s about $20,000 in equipment (sports photography is expensive), and it all goes in a Thinktank Airport Security rolling case. I also bring a Thinktank Speed Demon waistbelt, which I wear to carry the extra lens, batteries and cards.
While it’s only about a 45-minute drive to Lawrence, KS (home of KU), I left three hours early to make sure I could solve any problems before they became real problems. I’ve got to park, pick-up my credential, get to the media room, find power, connect to the protected WiFi network, check exposure and white balance on the court and send a test to the Getty editor in New York. If all of that comes off without a hitch, I’ll have about an hour to kill before I need to be courtside (30-minutes before the game).
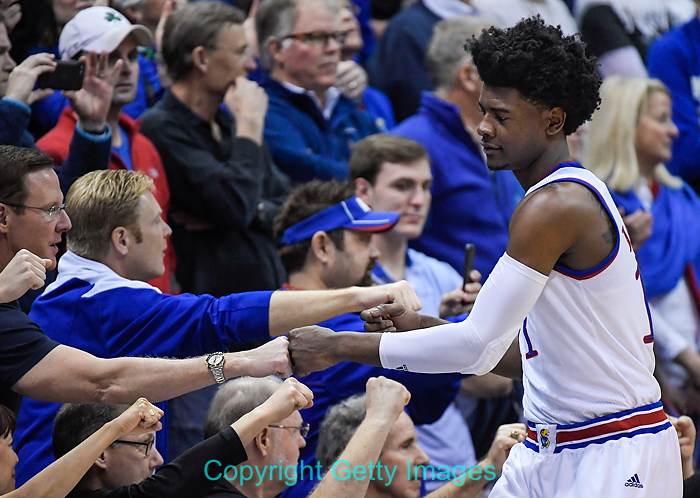
Josh Jackson #11 of the Kansas Jayhawks greets fans before the start of their game against the Iowa State Cyclones on February 4, 2017 at Allen Field House in Lawrence, Kansas. (Photo by Reed Hoffmann/Getty Images) Nikon D5, 200-400mm f/4 lens, ISO 8000, 1/1600 at f/4, Preset white balance.
There are four types of photos I’m expected to make during the game: action, reaction, coaches and fans. From my courtside spot (and I have a two-foot area that’s reserved for Getty), I’ll use the D5 and 200-400 to photograph the coaches and action at the far end. Fortunately, I can use incredibly high ISOs with today’s cameras, so with the D5 I was shooting at 8000 ISO, 1/1600 at f/4. When the action came down to my end, I switched to the D500 and either the 16-80mm for wide shots under the basket (5000 ISO, 1/1250 at f/4) or tighter shots with the 70-200mm (3200 ISO, 1/1250 at f/2.8). With the new-generation autofocus system both of those cameras uses, I set AF on them both for AF-C and 3D. Making the pictures is actually the easiest part of this assignment. Meeting deadlines is the hard part.
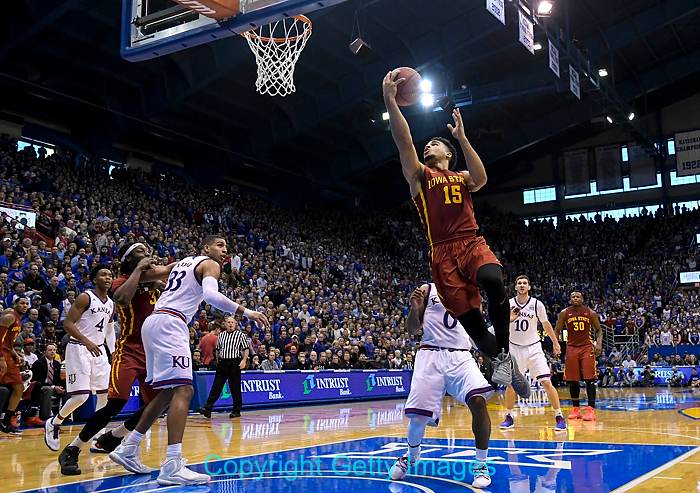
Nazareth Mitrou-Long #15 of the Iowa State Cyclones goes up for two points against the Kansas Jayhawks on February 4, 2017 at Allen Field House in Lawrence, Kansas. (Photo by Reed Hoffmann/Getty Images) Nikon D500, 16-80mm f/2.8-4 lens at f/4, ISO 5000, 1/1250 at f/4, Preset white balance.
In this day of websites and their insatiable demand for pictures, I need to transmit photos both at halftime and after the game. That means I shot most of the first half, then left with 1:30 remaining to run to the media room. Once there, I downloaded the cards from my two cameras (349 images total), selected seven photos from those, cropped, adjusted color/brightness if needed, caption and transmit. Figuring out the proper exposure beforehand (and setting it manually), and doing a white balance Preset (“custom” white balance) helped keep any exposure/color adjustments to a minimum. I was back out on the court having missed only three minutes of the second half.
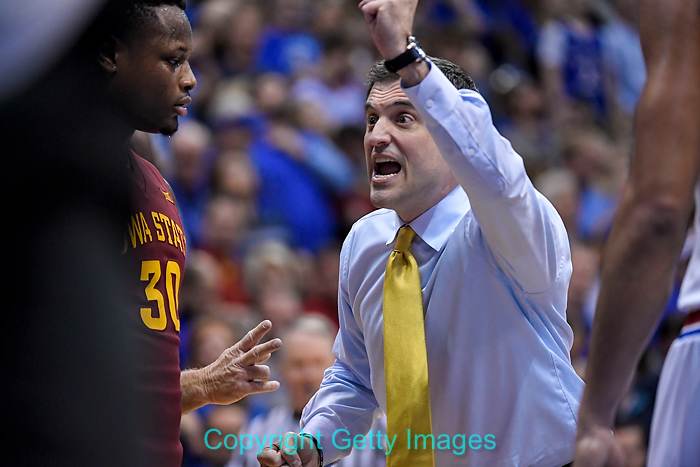
Head coach Steve Prohm of the Iowa State Cyclones talks to his team, including Deonte Burton #30, during a timeout in their game against the Kansas Jayhawks on February 4, 2017 at Allen Field House in Lawrence, Kansas. (Photo by Reed Hoffmann/Getty Images) Nikon D5, 200-400mm f/4 lens, ISO 8000, 1/1600 at f/4, Preset white balance.
As you can tell, being fast getting the pictures turned out is the key to this. That starts with the download. XQD is a card format that’s only used in a few cameras, but its transfer speed to the computer is much faster than SD or CF. I use Photo Mechanic to do that download, and at the same time, it’s able to embed a generic caption in every photo during that download (everything but subject’s names and what’s happening). Photo Mechanic is also incredibly fast at browsing photos, so then I scroll through the contact sheet looking for good pictures.
Once I find one, I bring it up full screen, then zoom to 100% to check sharpness. If I decide to use it, I can open it directly into Photoshop. But I don’t actually use Photoshop for editing. Instead, I use Adobe Camera Raw. ACR is built into Photoshop to let photographers open and start the edit process on RAW files before actually opening them into Photoshop. However, you can set it to open JPEG images as well (JPEG is a faster workflow than RAW, so it’s rare to shoot RAW on deadline events). This means that when I open an image into Photoshop, I’m actually opening it into the ACR plugin. And I can do everything I need to using that plugin (crop tone, etc.), then save out the finished image as a JPEG (and I have that automated as a “Preset”). I never actually get to the “real” Photoshop application. Why? Because it’s faster this way, and speed is critical.
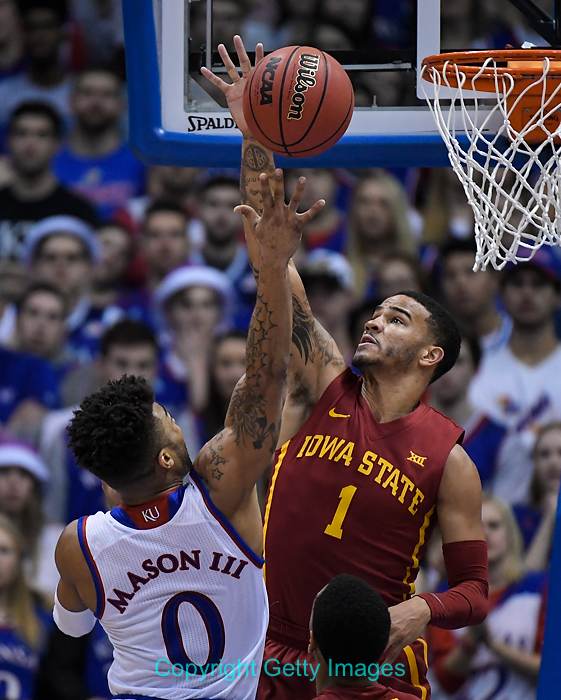
Nick Weiler-Babb #1 of the Iowa State Cyclones fouls Frank Mason III #0 of the Kansas Jayhawks on February 4, 2017 at Allen Field House in Lawrence, Kansas. (Photo by Reed Hoffmann/Getty Images) Nikon D5, 200-400mm f/4 lens, ISO 8000, 1/1600 at f/4, Preset white balance.
What actually takes the most time is captioning. As I mentioned above, Photo Mechanic can embed a generic caption during download. But once I’ve picked a picture, then I need to open that caption, identify the people in the photo and say what’s going on. That used to mean checking a jersey number against a roster and then very carefully typing that name (you make mistakes, you may not get hired again). Fortunately, a photographer in Texas came up with an ingenious method to help automate that. He created a software package called “Code Replacement,” which allows you to download a roster and use it with “codes” to automatically fill in names. For instance, if I type in “\k33\ and \x33\ battle for a rebound…”, code replacement will turn that into “Landen Lucas #33 of the Kansas Jayhawks and Solomon Young #33 of the Iowa State Cyclones battle for a rebound…” Amazing, right? This has been a godsend to sports photographers, and I’m happy to pay the fee to use this great program. The caption is just one of 18 fields that need to be filled in, but Photo Mechanic has already taken care of the other 17 with the generic caption. Here’s how a final caption for Getty will look:
LAWRENCE, KS – FEBRUARY 04: Landen Lucas #33 of the Kansas Jayhawks and Solomon Young #33 of the Iowa State Cyclones battle for a rebound on February 4, 2017 at Allen Field House in Lawrence, Kansas. (Photo by Reed Hoffmann/Getty Images) *** Local Caption *** Josh Jackson; Solomon Young
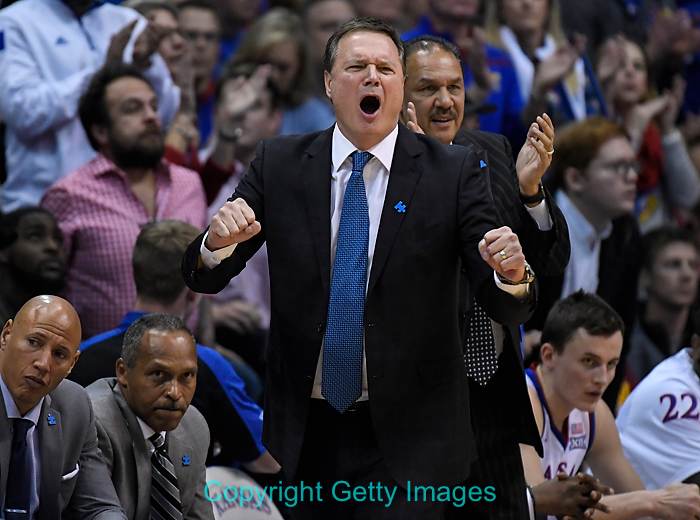
Head coach Bill Self of the Kansas Jayhawks reacts during the final minutes of their overtime loss against the Iowa State Cyclones on February 4, 2017 at Allen Field House in Lawrence, Kansas. (Photo by Reed Hoffmann/Getty Images) Nikon D5, 200-400mm lens, ISO 8000, 1/1600 at f/4, Preset white balance.
Almost done. Now I just need to send the pictures to Getty. This is done via FTP (File Transfer Protocol), which is also built into Photo Mechanic. I simply select the image(s) I want to send and tell PM to start the transfer. I’m sending JPEGs, so they transmit pretty quickly. Once they’ve finished, I send an IM to the editor in New York asking them to check that they’ve arrived and see if there are any issues.
After sending the seven pictures at halftime, I returned to the court for the rest of the second half. If it’s a blow-out, then I’m pretty much shooting action and coaches. But in a close game, like Saturday’s, my priority becomes final shots and reaction. This game went to overtime, and KU lost after missing their last shot trying to tie the game. I have that picture. More importantly, I had photos of Iowa State’s celebration at the bench and the court as the game ended. And those are the first pictures I transmitted after the game. The upset was the story, and those photos told it better than any action shots.
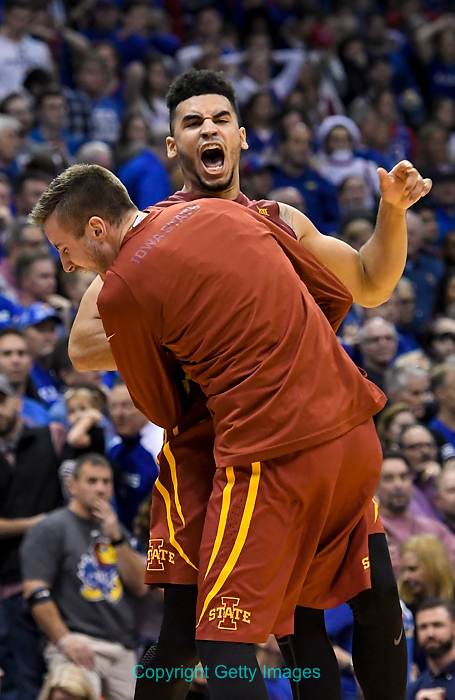
Nazareth Mitrou-Long #15 of the Iowa State Cyclones and a teammate celebrate their win over the Kansas Jayhawks on February 4, 2017 at Allen Field House in Lawrence, Kansas. (Photo by Reed Hoffmann/Getty Images) Nikon D500, 70-200 f/2.8 lens, ISO 4000, 1/1000 at f/3.5, Preset white balance.
By the time I finished Saturday afternoon, I’d sent 40 photos. Seven at halftime, and then 33 more after the game. That may sound like a lot, but I’m expected to provide enough photos for websites to post galleries from the game, plus photos that could be used later (stories on individual players, coaches, etc.) And that’s why my final shoot ended up being just over 1000 photos. Then it’s just a matter of packing up, hauling the gear out to the car and heading home. I left at 10am for a 1pm game and was home again before 6pm.
To me this kind of assignment is a fun challenge. Can I do a good job, and get the photos to the client as fast as possible? And as someone who spends a lot of time teaching workflow, it’s a great way to practice what I preach.
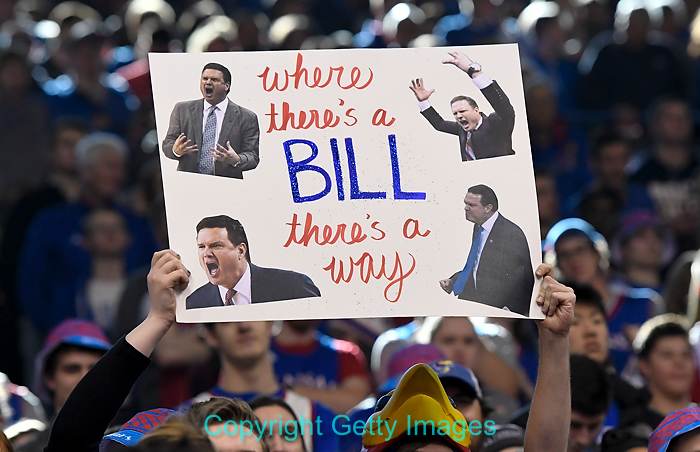
Kansas Jayhawks fans cheer prior to the start of their game against the Iowa State Cyclones on February 4, 2017 at Allen Field House in Lawrence, Kansas. (Photo by Reed Hoffmann/Getty Images) Nikon D500, 70-200mm f/2.8 lens, ISO 5000, 1/800 at f/4, Preset white balance.
(If you like this story, please share it with your friends, and also let them know about the links about photography I post on my business Facebook page)

