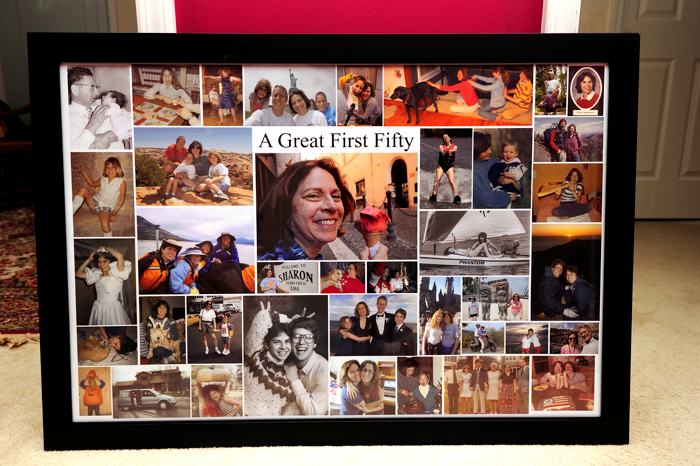
My wife Sharon had her 50th birthday this past weekend and celebrated with a big party. One of my gifts was a poster of photos of her over those fifty years, which was a big hit at the party. This can be pretty easy, if you just follow a few simple steps.
The hardest part is getting all the photos together, in digital form. Over the years I’ve slowly digitized most of our old family pictures that are prints. The easy way is to just photograph them with a digital camera. A decent point-and-shoot camera in close-up mode will do a fine job as long as you have plenty of light. Try putting them on a table near a window, with a good amount of daylight coming in. The other option is to scan them with a flatbed scanner. That can give you better quality, but takes a lot more time. Once 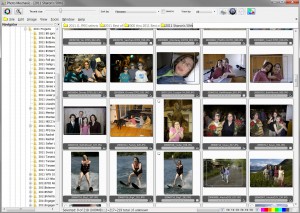 the old prints are scanned, collect them into one folder on your computer and then start adding the newer, digital photos you’ve shot.
Next you’ll need to use software to create the poster. You’ll want what’s called “layer-based” software because it will let you put multiple photos onto one document and move them around. The least expensive common program for this is Adobe’s Photoshop Elements (under $100). The more expensive Photoshop CS (any version) will do this too, of course. Before you decide on a size for the poster, check around and see how large a print you can have made at local stores (or online, like Mpix.com). I find that lots of places can make poster-sized prints for around $20. In my case I have a large-format printer that will 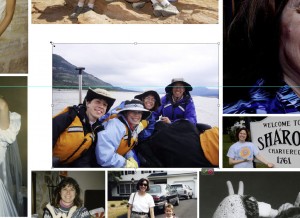 handle paper up to 24-inches wide, so I create a new document that’s 24-inches wide by 36-inches deep. I set the resolution for 160PPI (pixels per inch) because I know that’s all I need for good print quality.
Now for the fun part, making the poster. With Elements you’ll want to use the “Place” command in the file menu to bring each image in. Once it’s on the page, you can grab any of the “handles” on the four corners of that photo to make it larger or smaller, and grab the center of the photo to move it around the page. When you’ve got it where you want, the size you want, hit the return key. Make sure you have your “Layers” window open on screen, so you see each individual photo as its own layer. That lets you click on that layer at a later time and 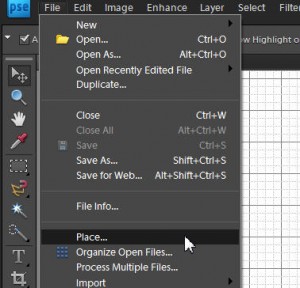 change its size or position, or even delete it. You can use the Type tool to create a type layer with words, and handle it the same way as the other layers.
If you’re doing this in Photoshop CS, the process is similar but not exactly the same. With this program you can just drag-and-drop the photos onto the document, no “Place” command needed. When you grab a handle to re-size the photo, though, make sure and hold the shift key down too, or you’ll end up stretching the image instead of just re-sizing it. And if you want to change it later, first select it (click on it) on the Layers palette (or click on the photo while holding down the Control key) and then choose “Free Transform” from the Edit menu to get the handles back. Again, hit the return key when you’re done sizing and moving the picture.
Be sure and save your work occasionally, and do that as a “PSD” 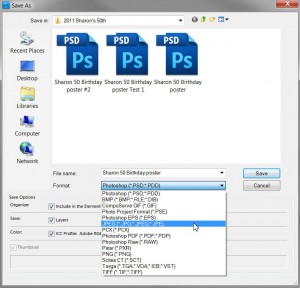 document. That keeps the layers intact so you can change them later. However, when you want to get it printed, you’ll need to save a copy as a JPEG file (most printers won’t be able to work with a PSD file, and it will be VERY large). Be sure and keep a version as a PSD, in case you want to make any other changes in the future.
Last step is a quick trip to buy a frame. I’ve had good luck getting frames 50% off at Michael’s, and have bought those 24 X 36-inch frames before, one of the reasons I chose that size for the poster. About ten minutes to put it in the frame and you’re done. A great keepsake to hang on the wall.

