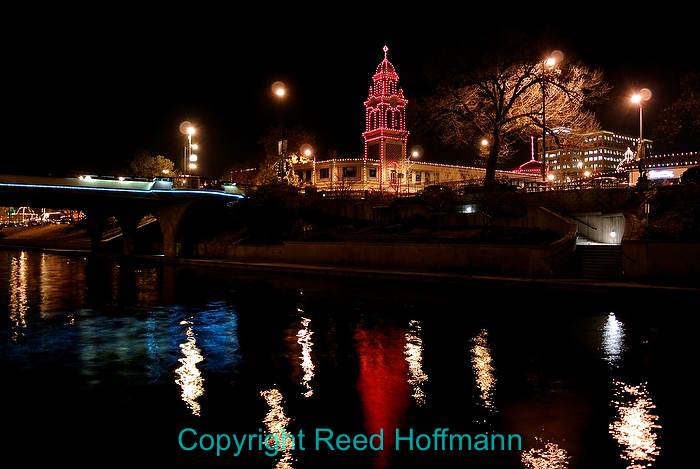
Now’s a great time to go out and practice your night photography skills. The craziness of the holidays is winding down, but the light displays are still in full glory, and will be for the next several weeks. So let’s go over the basics of what it takes to make nice pictures after the sun’s gone down.
First, and perhaps most important, you’ll want to use a tripod. Yes, it might be possible to raise the ISO and shoot photos hand-held, but that’s not taking advantage of one of the great tools photography offers us, which is slowing down time. I like to tell people to play to photography’s strengths – the things it lets us see that we normally can’t. Time exposures are one of those, where the blur of movement is recorded for all to see. To do that you’ll want exposures that go into seconds, not fractions of seconds. Which means a tripod.
(if you want tips on buying tripods, you can read what I have to say about that in the “Gear” section of my website)
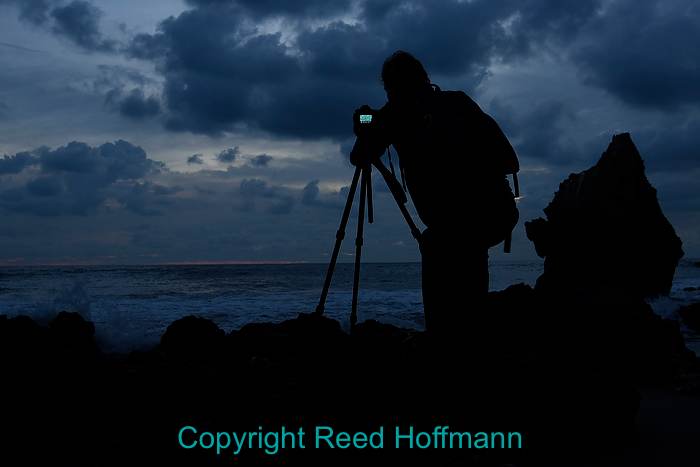
For any type of low-light photography, a tripod is essential. And the LCD can be a great guide to help get you to a good exposure. Nikon D810, Aperture Priority, ISO 250, 1/60 at f/5, EV -2.0, Nikon 24-120mm f/4 lens at 28mm. Photo copyright Reed Hoffmann.
Next, you’ll want an exposure that reflects what you like about the scene. What I mean is you probably don’t want ALL the detail in the scene to show. In night photography, it’s normal to have areas that go completely black. Which means you’ll probably want to avoid automatic exposure. Remember, when the camera’s trying to automatically judge exposure, it will look at large dark areas and think there should be detail. The end result is an overexposed night shot, where the areas that should be black aren’t and the smaller areas of light are overexposed (too bright). If you really, really want to try shooting in an automatic mode, then make sure and dial in a lot of minus EV (“Exposure Value,” which we refer to as exposure compensation). By a “lot,” I mean in the neighborhood of -2.0 or -3.0 as a starting point. But that’s more work than is really necessary. After all, you have a digital camera with an LCD. Which means finding a proper exposure can be done using it as a guide.
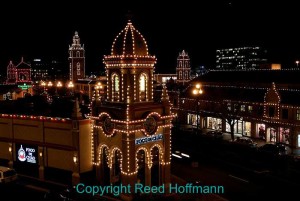
Shooting with the lens wide open (f/4), I got a short shutter speed, but little blur in the headlights of cars below. Nikon 1 J1 set to white balance of Incandescent and ISO of 100, Manual exposure, shutter speed of 1/3 at f/4, lens at 14.5mm. Photo copyright Reed Hoffmann.
Instead of automatic, try putting the camera on “M,” for Manual mode, and using shutter speed and aperture, and the LCD, to find a good exposure. Since you’re on a tripod, there’s no reason to raise ISO (and risk unnecessary noise), so start at 200 ISO. After that set your shutter speed to one-second, and the aperture to f/8. Shoot a picture and look at it on the back of the camera. If it’s too bright, then either make the aperture smaller (F/11 or f/16 to start) or raise the shutter speed (1/4 or 1/8 second, perhaps). Too dark? Use a longer shutter speed (five or ten-seconds) or open up the aperture (f/5.6?). There is rarely a one “right” exposure. Instead, the right exposure for the scene you’re shooting is the one that shows that scene the way you want it. But keep in mind what I said about playing to photography’s strengths: if you want blur, then you need a shutter speed that gets into multiple seconds. You can also try for another neat effect if
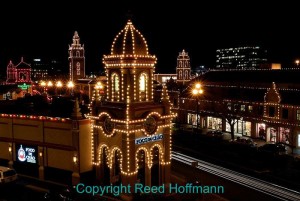
By closing down the aperture (to f/16), I was able to force the camera to use a much slower shutter speed, resulting in more blur. Also note the starburst effect that small aperture created with the streetlights. Nikon 1 J1 set to white balance of Incandescent and ISO of 100, Manual exposure, shutter speed of 6-seconds at f/16, lens at 14.5mm. Photo copyright Reed Hoffmann.
you make your aperture very small (such as f/16 or f/22). That’s referred to as the “starburst” effect, and can give small, bright light sources a nice look. Keep in mind, though, that this particular technique works best with wide-angle lenses.
What else should you think about? White balance. While most artificial lights “should” be photographed in the Incandescent or Fluorescent white balance setting, this is one of those times where you can simply use whatever looks best. You’ll probably find that those settings might look more natural, but the Daylight setting is “warmer,” and perhaps prettier. Again, there’s rarely a wrong way to do this when your goal is to make an interesting, creative picture. However, having said that, Auto White Balance will probably result in the least interesting color.
Another thing to keep in mind when doing long exposures is that you want to avoid moving the camera during that time. Remember that pushing the shutter button could add motion, and unwelcome blur to the picture. You can use a cable or remote, but if you don’t have one, try the self-timer. Most cameras will let you set the self-timer to as short a delay as two-seconds, which will provide a nice delay between pushing the shutter button and when the shutter actually opens, lessening the chance of accidental movement.
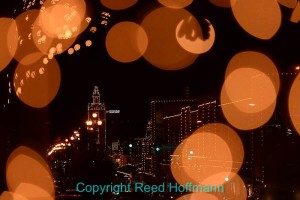
If the camera’s struggling to find focus, don’t be afraid to turn off the AF and focus manually, like I did here. And always remember to think about how you can use all the elements in the scene. In this case I shot through some small lights hanging on a tree, to frame the buildings in the background. Nikon D610 set to white balance of sunny and ISO of 400, Manual exposure, shutter speed of 1/80 at f/2.8, Nikon 70-200mm f/2.8 lens at 170mm. Photo copyright Reed Hoffmann.
Cameras also need light to focus, so here are a couple of tips if the camera’s struggling to do that. Usually you can move the active focus point away from the center of the frame (with a thumb pad on the back of the camera or another control). That means you could move it to a brighter area of the scene for focusing. If that doesn’t work, then you might want to simply turn off the AF and focus manually. And finally, some cameras will let you turn on the Live View, so the LCD is showing the scene through the lens, at which point you could then zoom in on that scene and focus manually using the LCD as a guide.
Finally, talking about the LCD, don’t let it fool you. What I mean is that in the dark, that LCD will look very bright, giving you the impression you have a good exposure when actually you’re probably underexposed (too dark). If you know how to read the histogram on your LCD, take advantage of that to confirm a good or bad exposure. And if not, simply make sure that you adjust your exposure on some of your shots so that they look too bright. My guess is once you get back inside, those will end up being the best exposures you made.
As with most types of photography, your night photography will improve the more you do it. So grab that camera and tripod and head out the door. Get out there and play. You’re going to have fun!
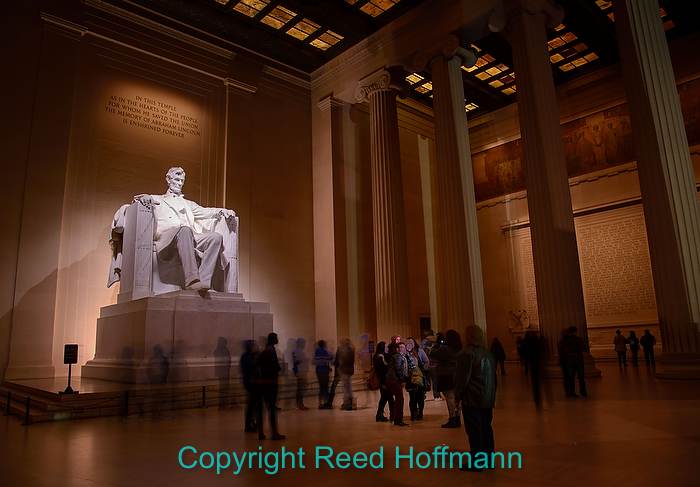
Remember, night photography can be done anywhere at night, as long as there’s some light, and you have a tripod. Nikon D610, Aperture Priority, ISO 200, Manual exposure, Fluorescent white balance, 4-seconds at f/6.3, Nikon 24-120mm f/4 lens at 24mm. Photo copyright Reed Hoffmann.

