I like making pictures and enjoy photographing people, so when I get the occasional request to do a senior photo shoot I try to say yes. Having just finished one, I thought I’d write about what I consider the key pieces that go into making a shoot like that successful.
All photography comes down to Subject, Light and Background. When doing portraits, the Subject part is already taken care of, which leaves Light and Background. These are the two things that you, the photographer, have control over on a shoot like this. While I’d been to this particular location several times before, I still arrived thirty minutes early to walk the grounds. That’s because I wanted to see where the light and shadows were, and start planning my shots. And yes, shots. Not one or two photos, but a variety, with different locations, light and framing.
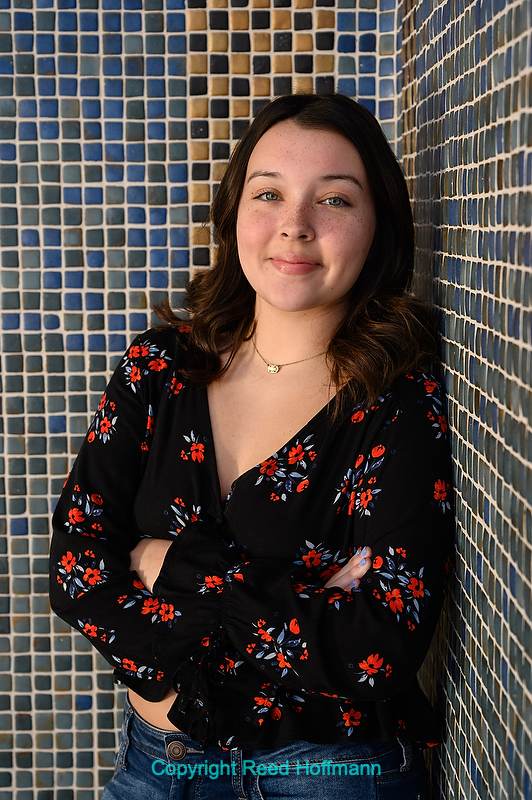
I started this shoot simply, to help Lily get comfortable with being in front of the camera. Her dad is to the left holding a reflector for me, which is why there are some mild shadows in her face. We generally want to avoid harsh shadows in portraits, but some light shadows help define shape. Nikon Z 7, Manual, Sunny white balance, ISO 200, 1/250 at f/5 in Matrix metering, 0.0 EV, Nikkor AF Zoom 24-70mm f/4 lens at 55mm.
Obviously, then, doing this type of portrait shoot is so much more than just making a good head and shoulders photo. Not only do you need to find several different locations to work with (thus my walkabout before the subject arrived), but you also need to think poses and expressions. Most subjects you photograph won’t be professional models, so it’s up to you to help them find comfortable, natural poses. When setting up a shot, I’m looking at body position and angles, and what’s happening with hands (and fingers) and hair. Little things like an odd hand or finger placement, or hair strands out of place, aren’t easily noticeable unless you’re looking for them. But they’ll definitely ruin an otherwise nice photo. When I’m happy all of that is right, I then concentrate on the subject’s face and my interaction with them.
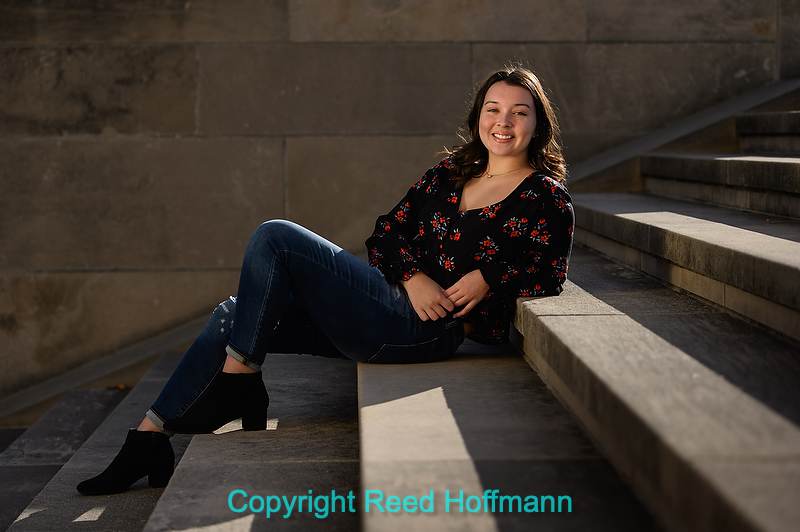
I’ll often try to work at the edge of light and shadow, and that’s what I found on these steps. Matching Lily’s pose to the angle of the steps was important, as well as using a reflector from the left side to punch up the light in her face. Nikon Z 7, Manual, Sunny white balance, ISO 200, 1/3200 at f/2.8 in Matrix metering, 0.0 EV, Nikkor VR Zoom 70-200mm f/2.8 lens at 78mm.
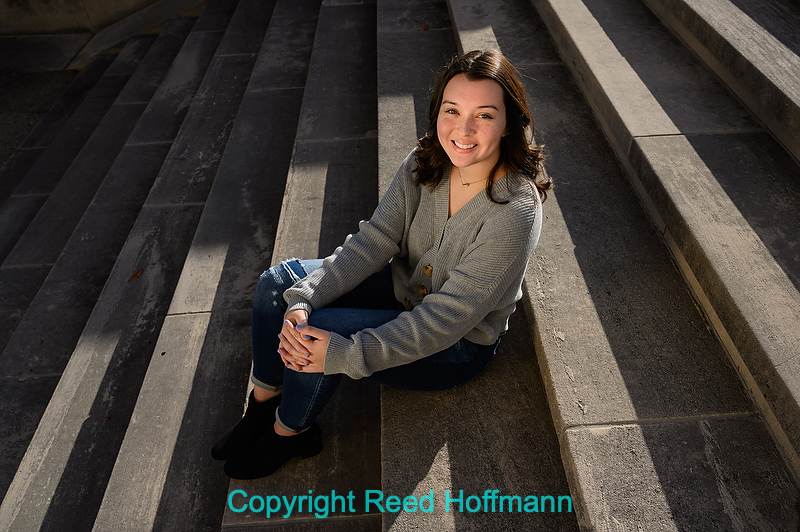
Using that same area, but taking a different angle, and using a wide-angle lens as well for a different look. And note that Lily has changed tops, again to give a different look to some of the photos. Nikon Z 7, Manual, Sunny white balance, ISO 200, 1/1000 at f/5 in Matrix metering, 0.0 EV, Nikkor AF Zoom 24-70mm f/4 lens at 26.5mm.
Few people are comfortable looking into a camera lens, so it’s your job to help them relax. The best portrait photographers have good people skills, or they won’t be successful portrait photographers. You need to be able to chat the subject up, make them laugh and direct them in a way that results in, again, natural-looking pictures. With a senior shoot, I’ll often joke about their parents, which teens are always happy to laugh about. And since I’m doing a number of different shots and poses, I’ll also make sure to have a variety of expressions. Smiles and laughs are great, but I’ll also ask them to give me some serious faces and look away from the camera occasionally as well.
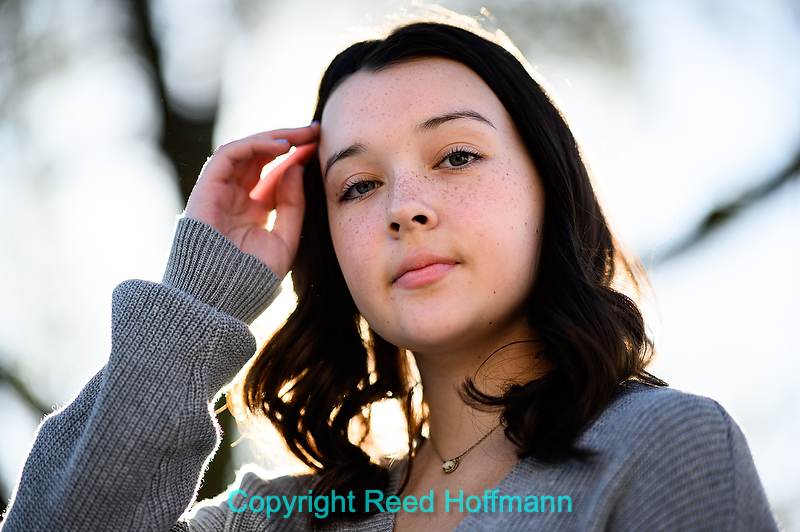
For this photo, I intentionally placed Lily with the sun right behind her coming through a tree. I knew that using a very wide aperture would distort the tree nicely, and moving as I shot could also get some flare from the sun. As I was getting ready to shoot, Lily brushed her hair back from her face, and I thought, “Bingo!” I asked her to repeat that motion for this photo, with gives it a nice candid feel. Nikon Z 7, Manual, Sunny white balance, ISO 100, 1/2500 at f/1.8 in Matrix metering, 0.0 EV, Nikkor AF 105mm f/1.4 lens at 105mm.
While I love working with great natural light, I wouldn’t dream of doing a shoot like this without two important lighting accessories: a reflector and a flash. That’s why you need at least one other person on the shoot with you. On a senior shoot, most of the time there’s at least one parent along. Otherwise, I’ll ask the subject to bring along a friend. Not only does that make them more comfortable, it also gives me someone who can get my supplemental lighting off-camera. Anyone can be taught to use a reflector in about a minute. I simply position them where I want them (usually 30-45 degrees to the side) and then show them how to tell when the light is on the subject.
While flash may be more complicated for the photographer, it doesn’t need to be for the person holding it. Again, 30-45 degrees off to the side and a little higher than the subject’s face. This is really the most important thing about adding flash – getting it off the camera and away from it. Flash coming directly from the camera, even powered down, will give a flat look to the photos. And, to keep the flash from being too harsh, I’ll put it in a small softbox and usually power it down a bit, from -.3 to -1 stop. I’ve long been a fan of Nikon’s Commander Mode camera’s and flashes, which let me control the flash from the camera without being connected to it. This lets me work much more quickly and easily.
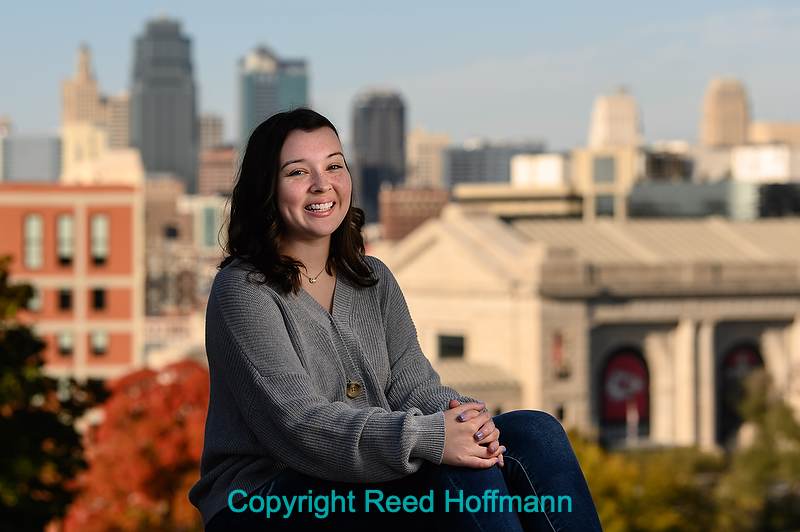
Another technique I’ll use is placing my subject in the shade, then lighting them with a flash. I need the power of the flash to be able to compete with the sun in the background, and a system that gives me the ability to use high-speed sync for a high shutter speed (what Nikon calls Auto FP). That high shutter speed allows me to use a fairly wide aperture to throw the background out of focus. Nikon Z 7, Manual, Sunny white balance, ISO 200, 1/1000 at f/5 in Matrix metering, 0.0 EV, Nikkor VR Zoom 70-200mm f/2.8 lens at 105mm.
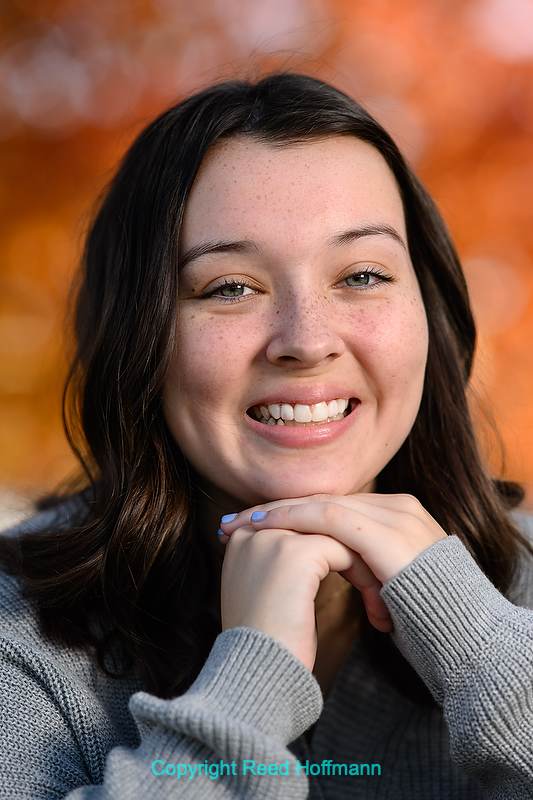
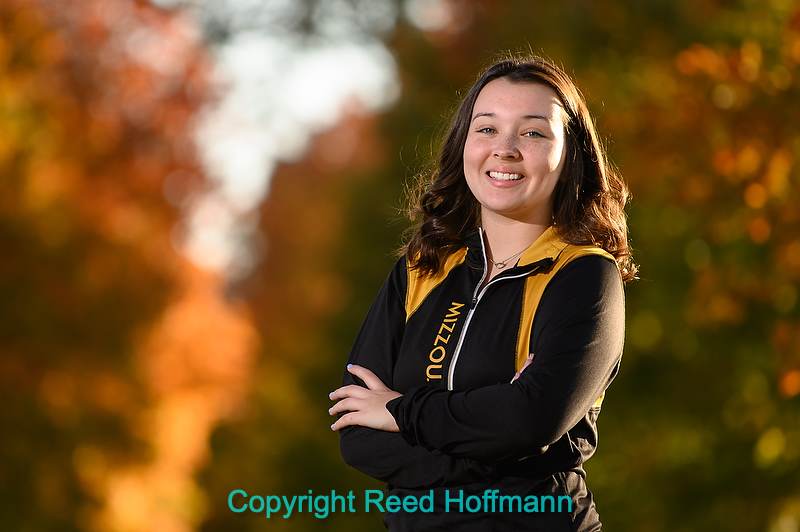
I enjoy doing the non-traditional shots, but know that it’s just as important to make some of the traditional photos as well. The 105mm, used nearly wide-open, throws the fall foliage nicely out of focus, and adding some flash from the softbox at right adds beautiful light on Lily’s face. Nikon Z 7, Manual, Sunny white balance, ISO 100, 1/640 at f/2.8 in Matrix metering, 0.0 EV, Nikkor AF 105mm f/1.4 lens at 105mm.
In a portrait shoot I want to be able to have shallow depth of field, so I tend to use fast lenses. My camera was the Nikon Z 7, and I primarily used the Nikkor 50mm 1.8, Nikkor 105mm 1.4 and Nikkor 70-200mm f/2.8 lenses. I also had the Nikkor 24-70mm f/4 S lens, which I used for a few shots.
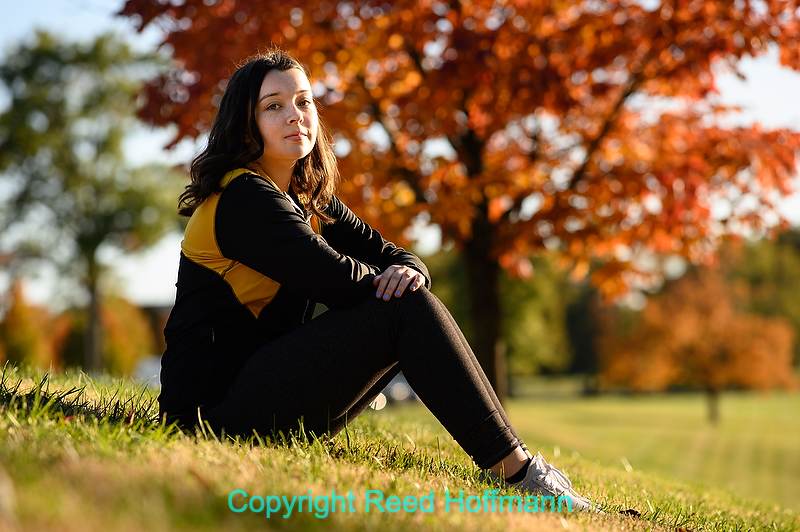
Lily wanted to dress more casually for some of the photos, so I used fall foliage as the background, and had her sit in the grass. the more somber expression was a nice change of pace, and since she was mainly backlit by the sun, I added light from the flash in a softbox to the right. Nikon Z 7, Manual, Sunny white balance, ISO 100, 1/640 at f/2.8 in Matrix metering, 0.0 EV, Nikkor AF 105mm f/1.4 lens at 105mm.
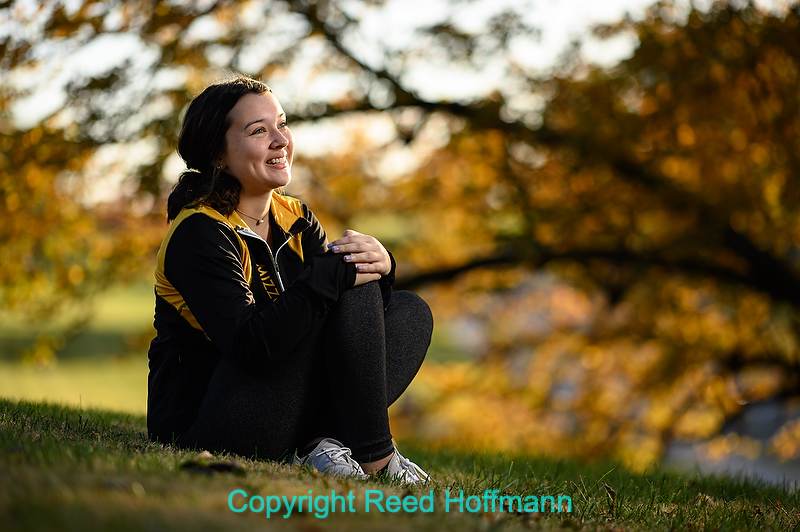
Changing her hairstyle, Lily moved to a slightly different spot for a few more photos. Here, she’s laughing at something her dad said as he’s holding the softbox, resulting in a natural, candid smile. Nikon Z 7, Manual, Sunny white balance, ISO 100, 1/2000 at f/1.8 in Matrix metering, 0.0 EV, Nikkor AF 105mm f/1.4 lens at 105mm.
Over the course of the two-hour session I took about 300 photos. After returning home and downloading with Photo Mechanic, I rated them, then imported the shoot to Lightroom for some simple crops and edits. Exporting as high-rez JPEGs, I posted the 60 of the photos to Dropbox and sent the family a link. All told that took about another two hours. Without a good, fast workflow, a job like this would take much longer to process and deliver than shoot.
As I said at the start, I enjoy photographing people, so a shoot like this is both fun and challenging. Photography, for me, has always been about the combination of the technical and creative. Managing the gear, settings, flash/reflector, while at the same time dealing with the subject and location and poses all have to happen at the same time. It’s a good workout both physically and mentally, and at the end both you and the subject should be tired but happy. And most importantly, everyone should be happy with the end results. That’s a win-win, and one of the many reasons I still love photography.
(If you like this story, please share it with your friends and let them know about the links on photography that I post on my business Facebook page. I’m also on Instagram and Twitter, @reedhoffmann. And if you’re curious about the workshops I teach, you can find them here.)

Great article! very informative & terrific images. Thanks for sharing!
Great article. Straightforward instruction and honest info. As always. Thanks for sharing your workflow process in addition to all the shooting details.