A few years ago a student asked me, “What do you do with all your pictures?” They went on to say they’d hung all they could, and given away many as presents. But then what? I explained that for me, the process of shooting pictures was its own reward. And while I enjoy having other people see and (hopefully) compliment them, my goal was really the capture, not display. But if display is your goal, then there are many different ways to do that, particularly with the web. And there are other ways too. Recently, a friend was telling me how she’d been asked to decorate the offices she worked in with her pictures.
Carolyn’s a pediatrician here in Kansas City, and been on several photo trips with me. She said, “It all started when we repainted our offices and had to take down all the pictures. My staff talked me into printing some of my photos from the New Zealand Mentor Trek in 2013. They didn’t really like the old pictures in my exam room, and asked if I would hang mine instead. Everyone, the staff and patients, have really seemed to enjoy them. It’s been fun to see others enjoy what was such a fun trip for me.”
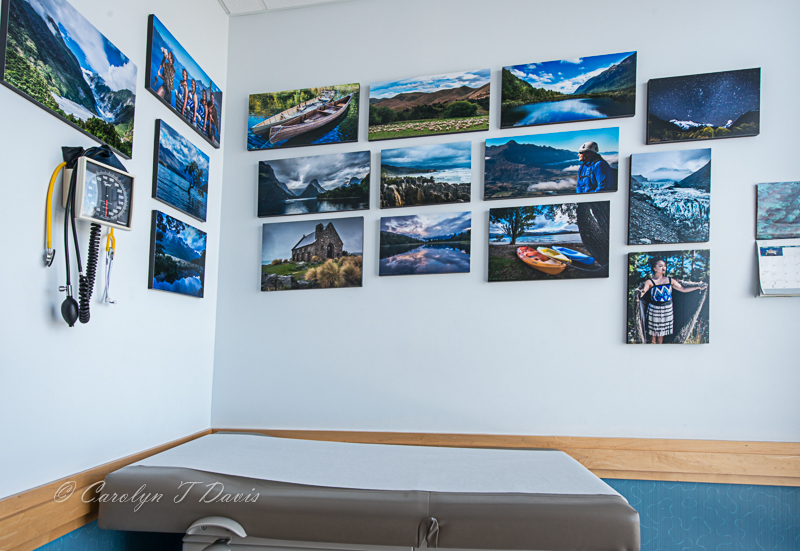
Carolyn used photos she shot on a New Zealand photo trip to decorate one of her exam rooms. (Photo copyright Carolyn T. Davis)
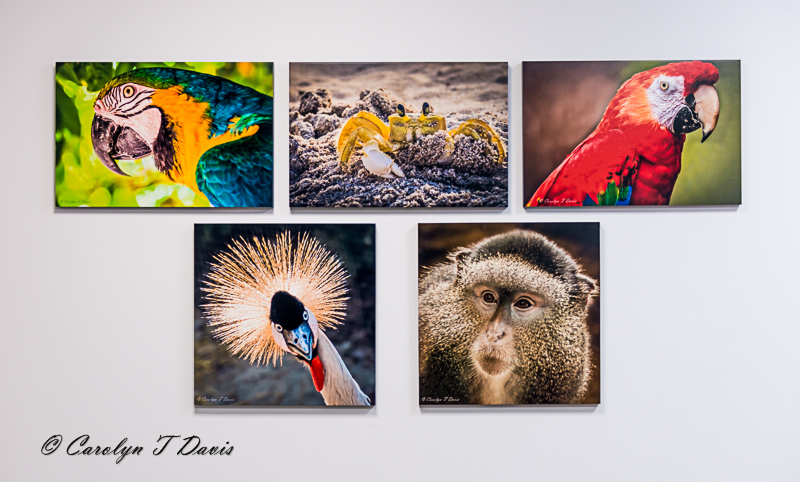
But the rest of their walls were still bare, and no one wanted to put the old pictures back up. So they convinced Carolyn to pick out more pictures she had and print them for the lobby. “I wanted colorful pictures, and had pictures of hot air balloons and animals. But I wanted more, and pictures that would be fun for all ages. Then I remembered seeing an example of how to shoot colored pencils and M & M’s – how appropriate for a pediatric office. So I spent a weekend learning how to shoot them.”
For the how-to, Carolyn used a book she’d found on shooting close-ups. She did the pencils first, sharpened, taped together, then weighted down in a glass casserole dish and submerged in carbonated water. She shot with her D800, 24-70mm f/2.8 lens, using flash at ISO 200, f/11, 1/80 second. That small aperture kept everything in focus.
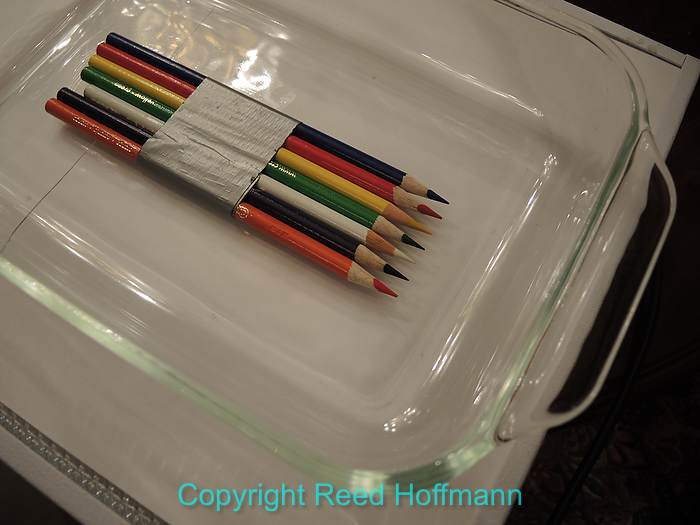
The pencils were put in a glass casserole dish, weighted down, then covered with carbonated water. (Photo copyright Reed Hoffmann)
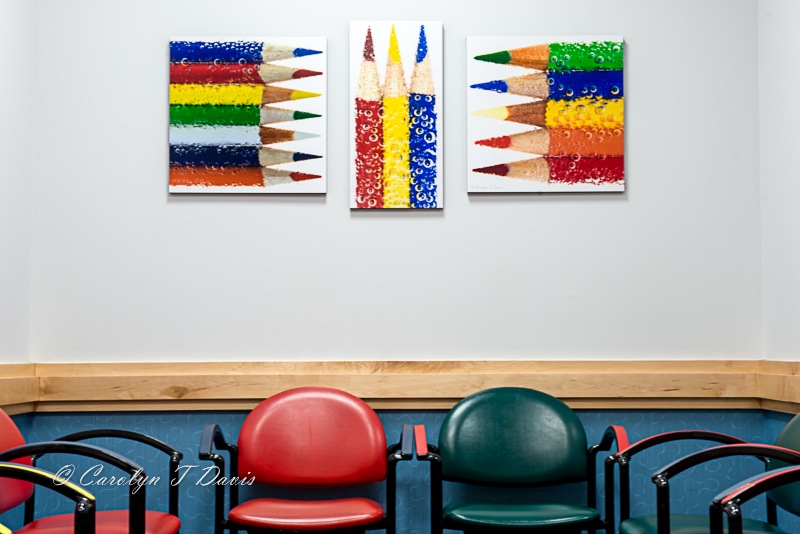
She then used three different shots of them for one wall in the waiting area. (Photo copyright Carolyn T. Davis)
The M&M’s shot was a bit more difficult. This involved a technique called “refraction,” where you’re actually shooting an image that’s seen in drops of liquid or bubbles. She started with a sheet of black paper on the floor and arranged the M&Ms on top of that. Next she made a tube of rolled white paper and placed it over the M&M’s. For the last step she placed a clear plastic CD case cover on top of the tube and put drops of saline solution (glycerine would work well too) on it. With that set-up, she then focused on the drops and the “refractions” of the M&M’s in those drops. With the same camera and lens, this time she used a tripod to shoot at ISO 200, one-second at f/22.
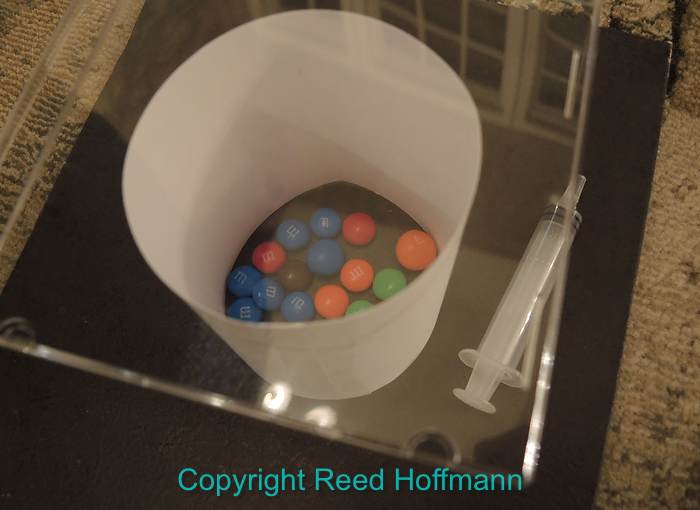
She created a simple rig to suspend the drops of saline solution far enough above the M&Ms to get the refractions she wanted. (Photo copyright Reed Hoffmann)
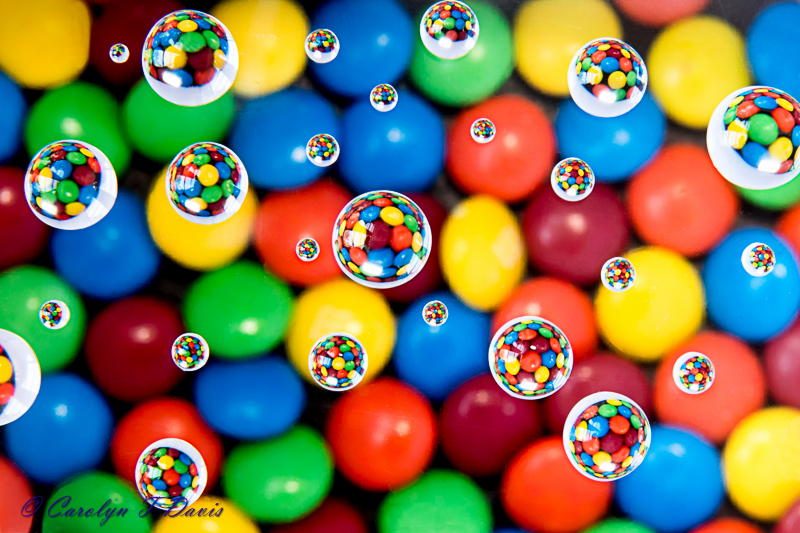
Even without a close-up (macro) lens, Carolyn was able to focus closely enough to see the patterns of M&Ms in the refractions. (Photo copyright Carolyn T. Davis)
In addition to those, she also had prints made from some other shoots she’s done around Kansas City. The prints were done by White House Custom Color (WHCC.com), as 3/4″ standouts (no frames needed). The animals are either 16 x 24 or 20 x 20. The pencils are 20 x 20 and 12 x 24. The M & M’s are 16 x 24. “I’ve been really happy with their quality and color.
Carolyn’s not finished yet. There are more rooms, and she plans to turn one of them into a “Peru” room, from our trip there this spring. And she’s looking forward to future trips providing more images, to either change what’s already there or add to more rooms. Carolyn laughs as she talks about how this all got started, saying, “I’m not sure if they didn’t just think it would be a cheap way to get something new on our walls.” Whatever their original motivation, it’s been a great way for her to share her pictures with others, and something she’ll continue in the future.
(To see more of Carolyn’s work, visit www.CarolynTDavis.com)
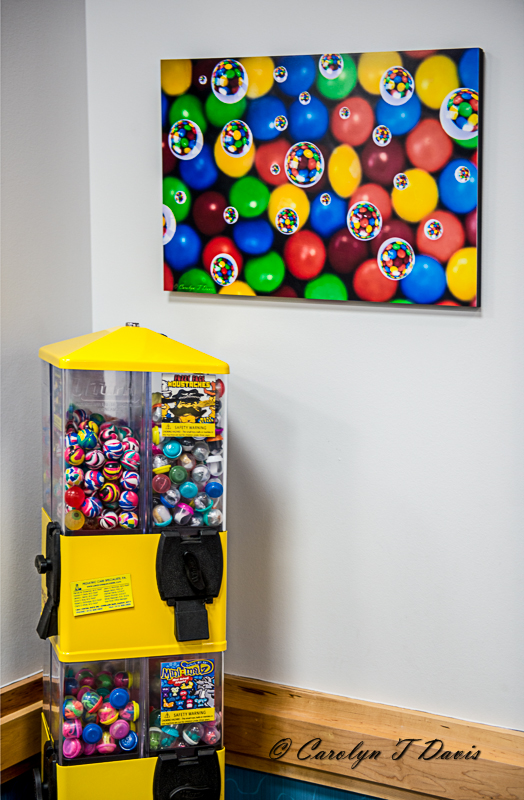
The refraction photo fit in perfectly hung above a toy dispenser the kids can use when leaving the office. (Photo copyright Carolyn T. Davis)