For over twenty years as a newspaper photographer, I never once used a graduated neutral density filter. Which was stupid. And I rarely used a polarizing filter, which was almost as bad.
There were two reasons for this. First, in photojournalism there’s a high standard applied against manipulation of scenes and images. Unless shooting a portrait, you’re not allowed to ask the subject the subject to do anything differently than they’d normally do. In other words, you can’t set up pictures. And two, you’re only allowed minimal editing of the photo afterwards. That means only basic darkroom techniques like burning and dodging, with the goal of getting the image as close as possible to the way someone there would see or remember it.
Filters, of course, don’t have anything to do with what the subject is doing. They do, however, change the look of the scene, But that can be a good thing. They can help bring the scene closer to the way the human eye sees it, or make it easier to see what’s really there. Which means I should have been using both of those back in my newspaper days.
Polarizing filters help remove reflection and glare (just like the polarized sunglasses that people often wear), which makes it easier to see detail and color (in foliage, for example), or through reflective surfaces like water and glass. So they can improve a scene and render more detail visible. And “circular” polarizing filters are preferred today because they won’t affect the metering or autofocus systems of the cameras.
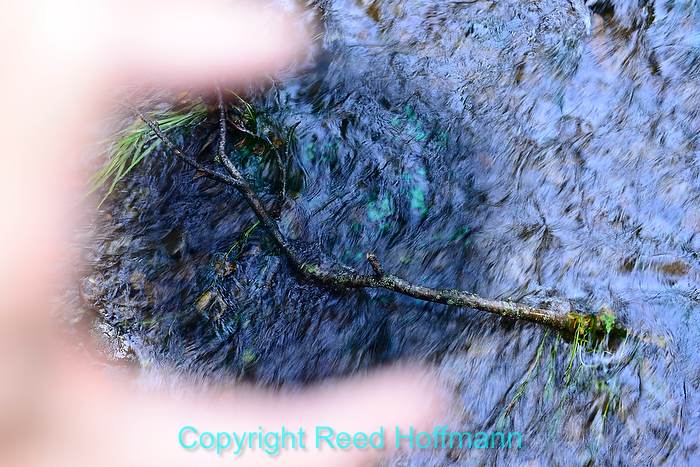
A polarizing filter can help remove glare, or reflection from surfaces. Turned this way, there’s no effect. Photo copyright Reed Hoffmann.
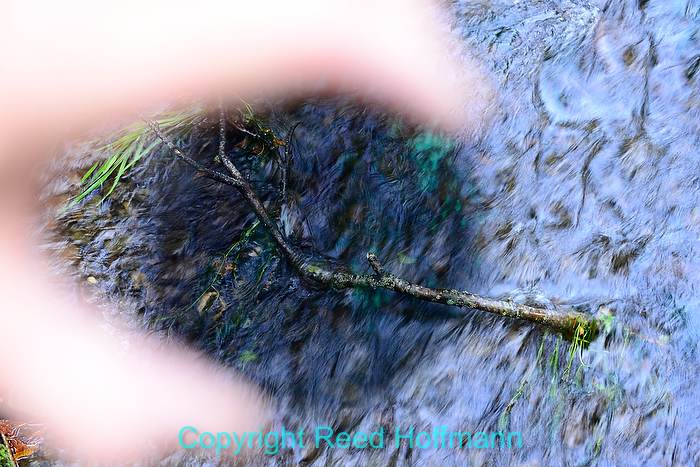
However, if you rotate the polarizing filter, and are at an angle to the surface, like this stream, those reflections can be reduced. Photo copyright Reed Hoffmann.
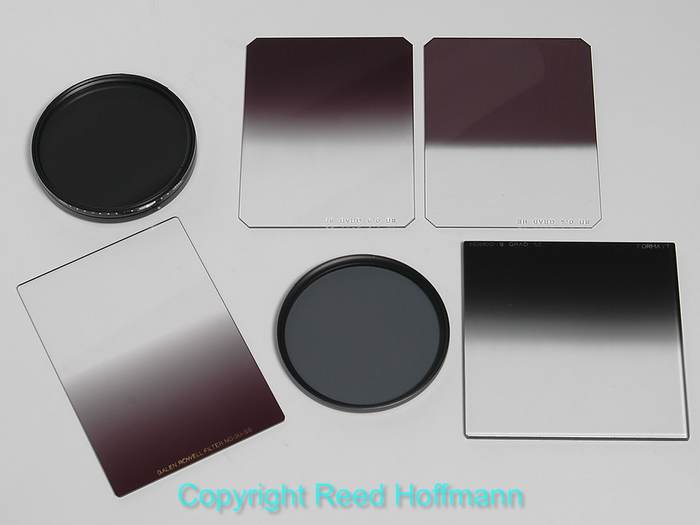
Graduated neutral density filters help bring the range of light in a scene down to what a camera can capture. “Range of light” simply means the difference from brightest area to darkest area. While human vision can see a tremendous range, cameras are more limited. For instance, if you’ve got a beautiful sunset in the sky, but there’s no direct sunlight in the area in front of you, that’s a range beyond what a camera can capture in a single exposure. In that case, you could choose to expose for the sunset, or the area in front of you, but won’t be able to find one exposure that captures good detail in both. Graduated neutral density filters “gradually” reduce the amount of light coming through them, from one edge to the other. To use one you place it in front of the lens and slide it up or down (or even side-to-side) to darken the brightest part of the scene. They’re fantastic tools, come in different densities and are called “hard” or “soft,” depending on how fast they make that transition from dark to light.
A graduated neutral density filter, like this Formatt 4X4, reduces the light in one part of the scene more than the rest. Photo copyright Reed Hoffmann.
The result is a single photo that holds detail in the brightest areas you care about as well as the dark ones. Photo copyright Reed Hoffmann.
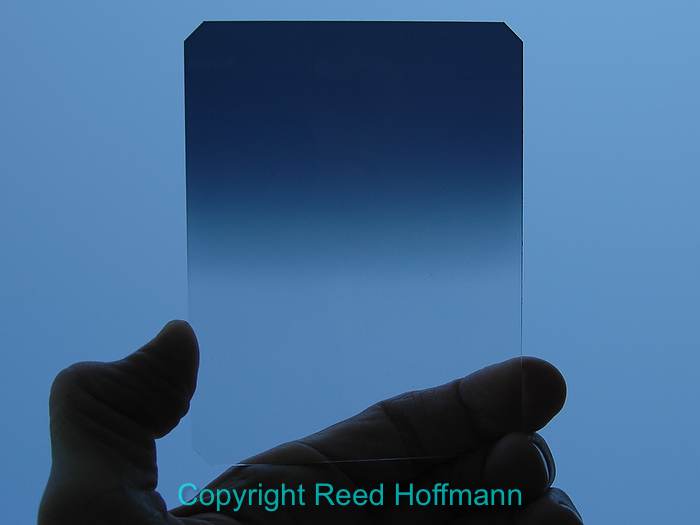
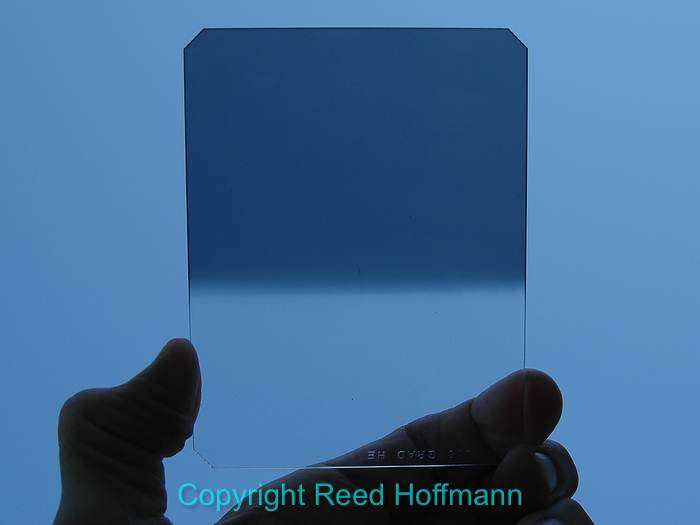
Graduated neutral density filters come in different densities, and are either “soft” (soft-edged transition) like this one, or “hard.” Photo copyright Reed Hoffmann.
A “hard” graduated neutral density filter, on the other hand, makes the transition from dark to light very quickly in a very small area. Photo copyright Reed Hoffmann.
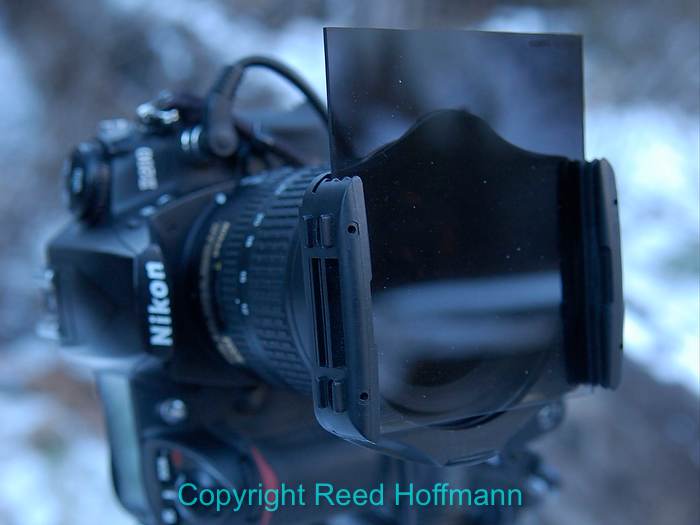
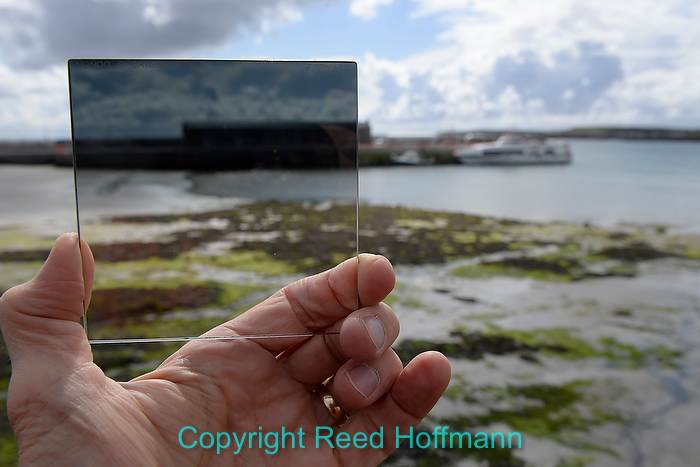
The proper way to use a rectangular filter like this is to slide it into a holder mounted on the front of the lens. To save time, though, I often just take off the lens hood and hold it against the front of the lens with my fingers. Photo copyright Reed Hoffmann.
There’s another common tool today to expand the range of light captured, and that’s HDR. High Dynamic Range imaging means you shoot the same scene several times in quick succession, at different exposures. Then, either in the camera or computer, those multiple exposures are combined into one photo that uses the best exposures for both the brightest and darkest areas to blend them into one final picture. You can run into problems with HDR if the camera is not held still (best on a tripod) or if movement happens in the scene between frames.
Of these three tools, HDR is the one most likely to get a photojournalist into trouble. That’s because they’re not capturing a single moment in time, but several different moments that are combined into one image to represent a single moment. I think a good argument could be made, in certain situations (where time is less a factor, like a landscape-type photo), that HDR is simply allowing the photographer to reproduce the scene in a manner closer to the way a viewer would see it if they were there. But the multiple-moment thing would cause issues for some editors.
Polarizing filters might also raise an editor’s concern, because they change the scene in a way different from how people might see it. However, if you were wearing polarized sunglasses – and many sunglasses are polarized – then that’s exactly how you would see it.
On the other hand, graduated neutral density filters are a simple solution that truly does help bring that single moment in time (one exposure) closer to the way anyone there would see it with their eyes. But you need to have one, and know how to use it. And that was really my problem back then. I didn’t know what a neutral density filter was, and so never used one. That was a mistake.
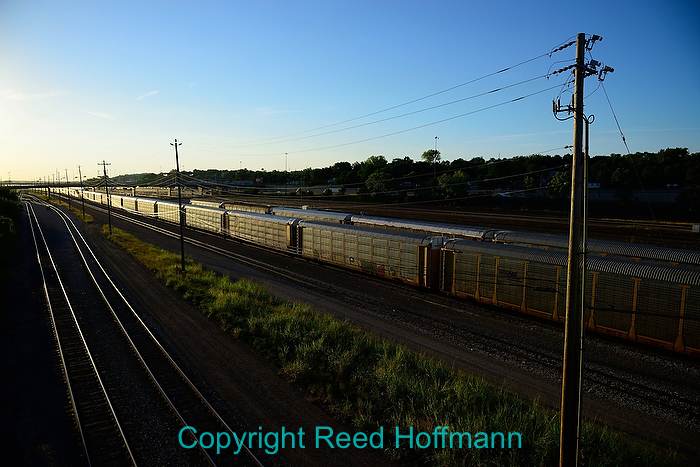
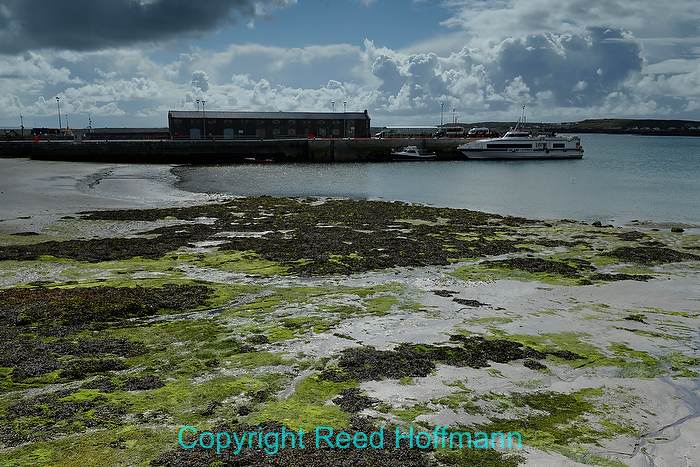
In this shot, the sky is blowing out on the upper left edge, and there’s little detail to be seen in the lower right. Photo copyright Reed Hoffmann.

By placing a graduated neutral density filter across the upper left side, not only is the amount of light reduced there, but it also opens up the shadows in the lower right. Photo copyright Reed Hoffmann.
Today, I carry two filters with me most of the time. A polarizing filter and at least one graduated neutral density filter (usually a three-stop soft). That’s because now I understand the power of these filters, that they can help me make better pictures.
Photography is sometimes about the tools, but most of the time it’s about the photographer’s knowledge. And like range of light, the wider your range of knowledge, the better a photographer you’ll be.
(For several years I’ve been using resin graduated neutral density filters. But because I usually just hold them against the front of the lens – instead of using a holder for that – they get scratched and I have to replace them regularly. There are also glass filters, which of course are much harder to scratch, but also much more expensive. I recently found a great deal on a glass one, because it’s a little smaller than most photographers would want. At 4X4 inches, it’s large enough to hold in front of a 77mm filter-ring lens but limited in how much you can move it up or down. I’ve been using it for a few weeks now, and find it works just fine for me. also, at 4X4-inches, it takes up less space in my bag than the larger versions. If you’re interested in one, Roberts Camera in Indianapolis has a great deal on a bunch of Formatt 4X4 glass filters, just $125 plus shipping. I bought the three-stop soft and am very happy with it. They have a few different models at that price, and they also have some larger – 150mm X 170mm – resin filters for $85. If you’re interested, call them at 800-726-5544 and tell them Reed Hoffmann sent you.)

My new Formatt 4X4, three-stop soft graduated filter. Photo copyright Reed Hoffmann.