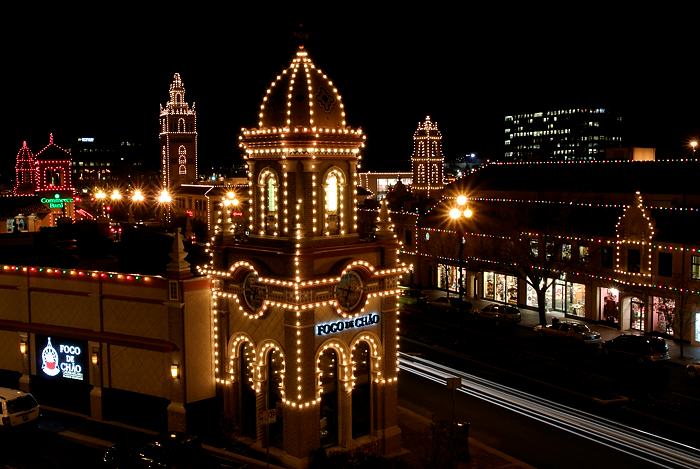
Every holiday season the Country Club plaza in Kansas City is decorated in lights. It’s a beautiful scene, and well worth the visit if you’re in town. Light displays like this are a lot of fun to photograph, if you know a few simple tips to get the photos you want.
Any time you’re shooting photos at night, outdoors, you can expect slow shutter speeds. What’s slow? I say any time the shutter goes below 1/30 second. Above that, if you use good technique holding the camera steady, you should be able to get a sharp picture (unless your subject’s moving). Below that and you’ll probably get blur just from holding the camera. So the first trick is to have a stable way of supporting the camera. The simplest solution for that is a tripod. If you don’t have a tripod, find a place to set the  camera. Remember the “Luck and Lightning” post I wrote in October? To get that photo I set the camera on my camera bag atop the bridge railing. You can use walls, railings, the ground or anything else that’s not moving. That helps you minimize the chance of adding blur when shooting the picture.
Of course, you can still cause blur by pushing the shutter button. That’s easily avoided too, by using the camera’s self timer. With that turned on, when you push the shutter button, the camera waits a few seconds before shooting (and some cameras, like Nikons, now let you set that delay from two-seconds to twenty).
 Since you’ve already dealt with keeping the camera steady, you don’t need a high ISO. Most cameras are set to Auto ISO, which means they’ll raise the ISO if there’s not much light. Sometimes you need that, but you get “noise” (a graininess to the image) and lose color saturation. So set the ISO manually, to 100 or 200. An added benefit to this is that your shutter speed will often be so low you get blur in any movement, like cars driving by. That can be a nice effect.
The next problem can be focus. Cameras need light to focus, so they can struggle at night. If yours is, then simply turn it off. By switching to manual focus you can adjust it yourself, and it’s usually fairly easy to do that.
The other thing your camera will want to do at night is use its flash. Don’t let it. If you have Scene Modes, there’s often a “No Flash” mode. If not, try the Program exposure mode. In that, the camera will only use the flash if you tell it to (by popping it up).
If your camera has any kind of image stabilization technology (VR, IS or SteadyShot), turn it off. When doing long exposures (night shots for instance), that can actually add  blur to the photos, by creating movement where there isn’t any.
Your camera creates color using something called White Balance. Most cameras are set to Auto, and you can leave it there if you like the results. However, when I’m doing shots at night that include artificial lights (instead of the moon), I often change the White Balance setting to Incandescent (sometimes called Tungsten) or fluorescent. I think that gives a more natural look.
Now all that’s left is to find a scene worth shooting. Pay attention to your framing. In other words, consider the whole rectangle of the viewfinder to be valuable space, and make sure that what you’ve got framed in there is what you want. When possible, move closer, When you do, you usually end up with a better picture. And look for places where you can get a different angle from eye level. Parking garages are great for that.
And don’t forget to play. Try zooming the lens, or even shaking the camera when taking the picture. Remember the photographer’s secret – If you make a mistake and it looks good, say you did it on purpose!