1 – Know your tripod. You should be able to set up and take down your tripod in the dark, and adjust the tilt and level controls of the head. Same with putting your camera on the tripod and taking it off. Practice this in a darkened room at night until you’re comfortable with it. And remember, if you don’t do these properly, there’s a good chance your camera will end up on the ground, probably broken.
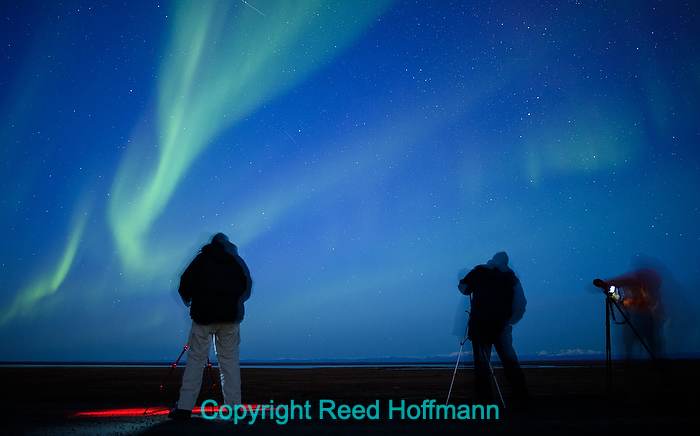
When the northern lights are dancing over your head is NOT the time to learn how to use your tripod. ISO 2000, 8-seconds at f/1.8.
2 – Know your camera. This may sound obvious, but you’d be surprised how many people don’t know what buttons and dials to push to make changes, especially in the dark. You’re going to need to be able to:
- Change the exposure to Manual.
- Adjust shutter speed, aperture and ISO in the dark.
- Turn autofocus on and off, again in the dark.
- Preview your image, zoom to check focus and view the histogram.
- Turn your image stabilization (or VR) off.
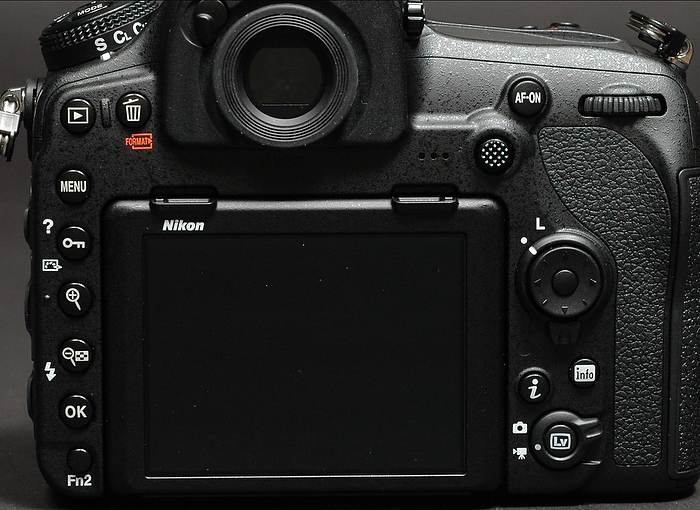
Do you know how to use all the buttons and dials on your camera in the dark?
3 – Understand how to set focus in the dark and adjust if necessary. Focus is often the biggest challenge in night photography. The autofocus system needs light, and that’s something you won’t have much of. There are a few ways to get your focus right, but all of them depend on you being able to use your camera’s autofocus system properly (select a single focus point) and turn it on and off. On/Off can usually be done with a switch on the lens or body, but however it’s done, you need to know before you go.
- If there’s a bright light somewhere in the scene, or even away from the scene, you can often get your AF system to focus on that. If everything is at a distance, then once the camera is focused, simply turn off AF. Setting the lens to “Infinity” will usually result in an out of focus picture.
- If your primary subject is close enough, or you have a powerful enough flashlight, then you can light the subject and use AF to achieve focus. Once that’s done, turn off the AF.
- If you have a fairly fast aperture lens (f/2.8 or wider) and Live View (either on the LCD or viewfinder), then you’re sometimes able to zoom the display in to a bright star or planet (or the moon) and manually focus on it. This takes practice, but is possible. Doing this you start in manual focus, not automatic, and stay in manual focus.
- Finally, once you have your focus, be sure and turn AF off and then don’t touch the focus again unless your distance to subject changes.
You HAVE to get the focus right. Confirm your scene is in focus (zoom in and look) before spending any amount of time shooting or risk having a lot of wasted photos.
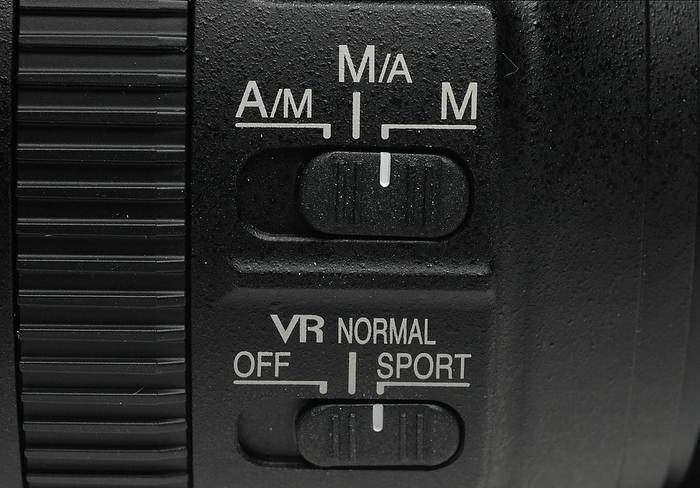
You’ll almost always be doing night photography with the lens in Manual focus mode. To prevent added vibration, turn off any image stabilization (or VR) that your camera or lens offers.
4 – Get the exposure right. If you’re truly working in the dark (not a city scene or similar), then it’s easier to simply use Manual Exposure than trying to force an Automatic Exposure mode to work. Shoot a few test exposures until you’re in the ballpark. Then refine the exposure. Remember two things: first, the LCD will look really bright in the dark, so if you judge exposure by when it looks good on the back of the camera, you’ll be underexposing. In the dark, you actually need to see an image on the LCD that looks a bit overexposed. Second, the histogram can be helpful, but you need to remember how it works. Dark tones are to the left, bright tones are to the right. So if it’s a night shot with lots of black or near black, most of your histogram will be to the far left, and that’s okay.
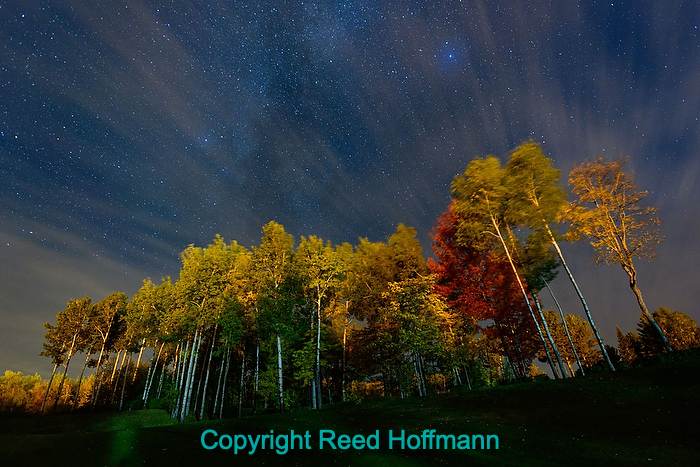
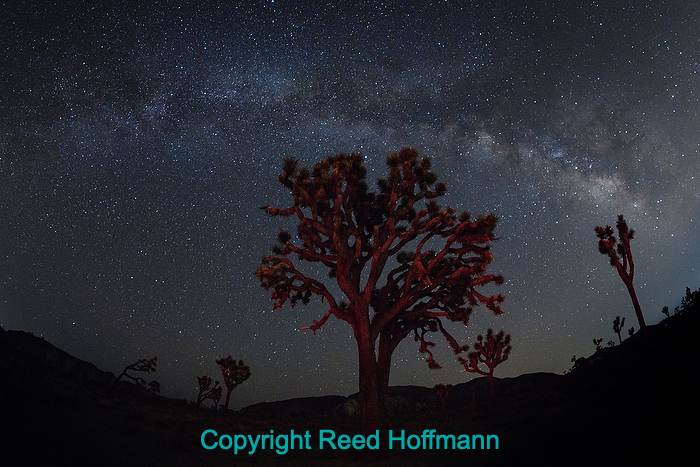
This scene was barely visible to the naked eye, so a camera would struggle to try to get a good photo in any mode other than Manual. Nikon D850, Manual exposure, Sunny white balance, ISO 2000, 25-seconds at f/2.2, Nikkor 20mm f/1.8 lens.
5 – White Balance. If you’re shooting in RAW format, then I often recommend putting the camera in Daylight (Sunny) white balance. Once you have the photo on the computer, you can shift the color to what looks most natural. If you’re shooting JPEG, it’s important to get the color as close to correct on the back of the camera. In that case I usually recommend setting the Kelvin manually, somewhere around 3800K. That will result in a dark blue sky, which looks good most of the time.
For beginners, all of the above can be challenging. For people who’ve done this before, it mostly comes down to exposure and white balance. But the single best thing you can do to be successful is to practice with your gear in the dark before going out. Get your kit together, go in a room at night, close the curtains and turn off the lights. Set up your tripod, mount your camera, practice with your controls for exposure and focus. This is truly one of those times where practice makes perfect. But it’s worth it. Few people do night photography, and even fewer do it well. Which means this is an opportunity to make pictures that aren’t commonly done. And that’s always a good thing.
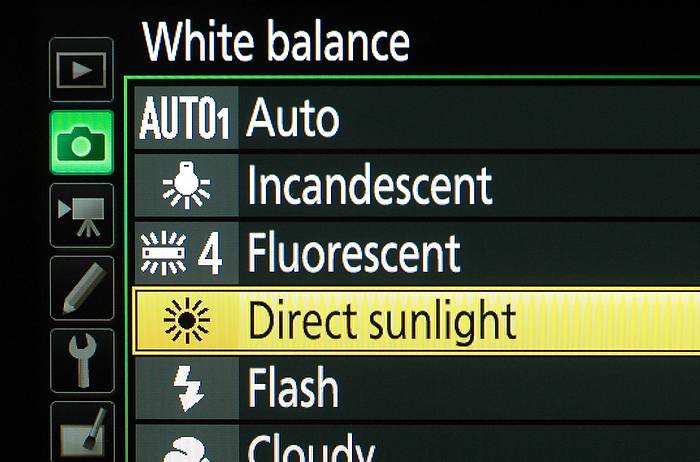
I recommend the camera’s daylight (sunny) white balance setting as a starting point for night photography. If you’re shooting in RAW format, you can always shift that afterwards with no loss of data. If shooting in JPEG, then either use the daylight setting or manually set Kelvin to around 3800K.
If you like this story, please share it with your friends and let them know about the links on photography that I post on my business Facebook page. I’m also on Instagram and Twitter, @reedhoffmann. And if you’re curious about the workshops I teach, you can find them here.
Such a good teacher! I´ve been watching your videos on nikon.com Thank you!
Glad you enjoyed the online videos, Luis.
Very helpful; I’m a beginner but will experiment with shooting night photos since they are not common.
Great! Hope you have fun with it.