Software companies tend to roll out so many updates that it can be tough to stay current with all of them. But one that Adobe released in January of 2022 was an incredible time-saver (and quality booster for me) when editing photos – ISO Adaptive Presets.
When you take pictures, the “noise” in those photos increases as you use higher ISOs. Which means that to get the best possible quality out of high ISO images, you need to adjust the amount of noise removal applied as the ISO changes. As someone who shoots a lot of night and indoor sports, as well as night photography, I use high ISOs regularly. And I rarely shoot at the same ISO for an entire event. That means I can’t apply the same amount of noise reduction to all of those photos – it needs to vary as the ISO varies. Obviously, doing that takes extra time. Enter Adobe’s ISO Adaptive Preset.
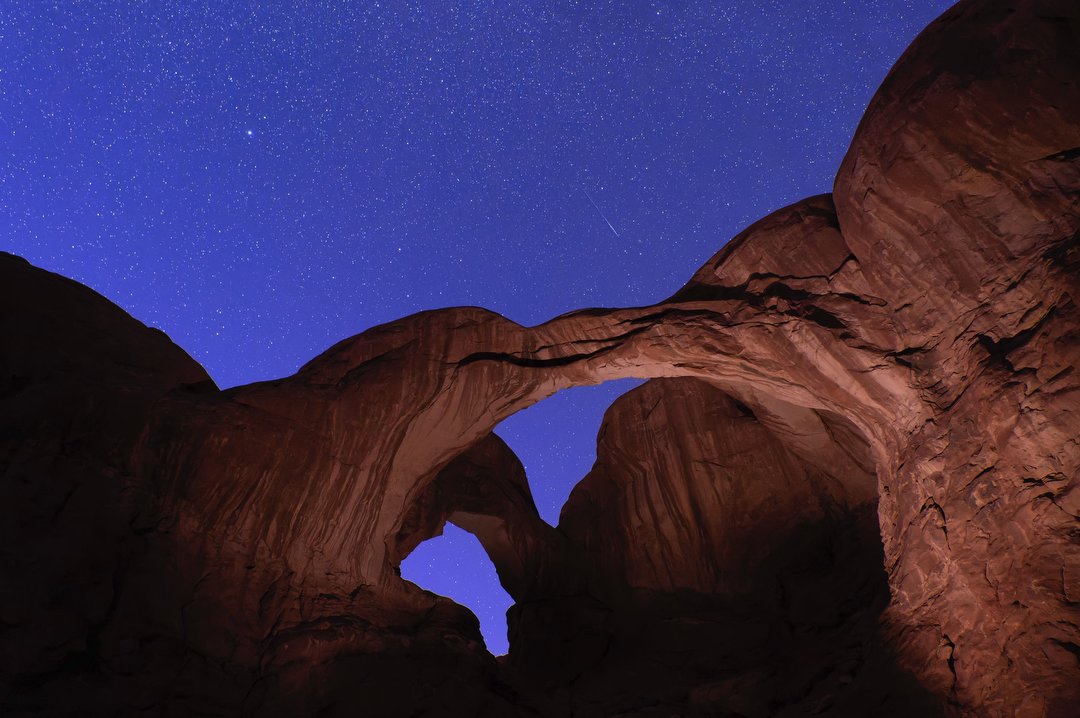
I shot this during my Moab workshop last November, at 12,800 ISO with a Nikon Z 9. Normally I wouldn’t use that high of an ISO, but I wanted to see how well the ISO Adaptive Preset would handle the noise.
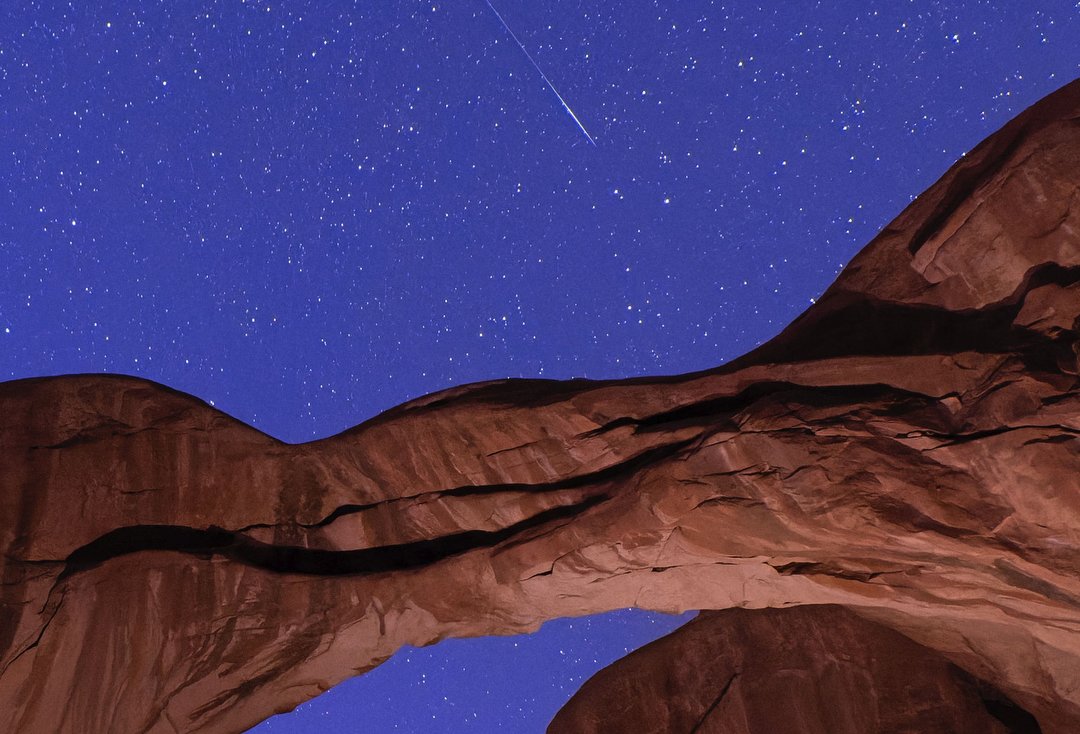
And here’s the result, at 100% magnification. You can see how noise-free the image is, still showing good detail and sharpness without the expected “crunchy” look of a high ISO image, or losing sharpness as often happens with noise reduction.
The process of creating one is a bit involved, but well worth the effort. In short, you shoot a series of images at a range of ISOs on one camera model. In my case that meant using my Nikon Z 9 to shoot the same photo 11 times, at ISOs ranging from 64 to 25,600. Then, opening all of them in Adobe Camera Raw (you can do the same thing with Lightroom), I adjusted each for best quality, adjusting the individual “Detail” sliders for Luminance, Detail, Contrast and Color. Not surprisingly, the image taken at ISO 64 required no adjustments, the one at 25,600 the most.
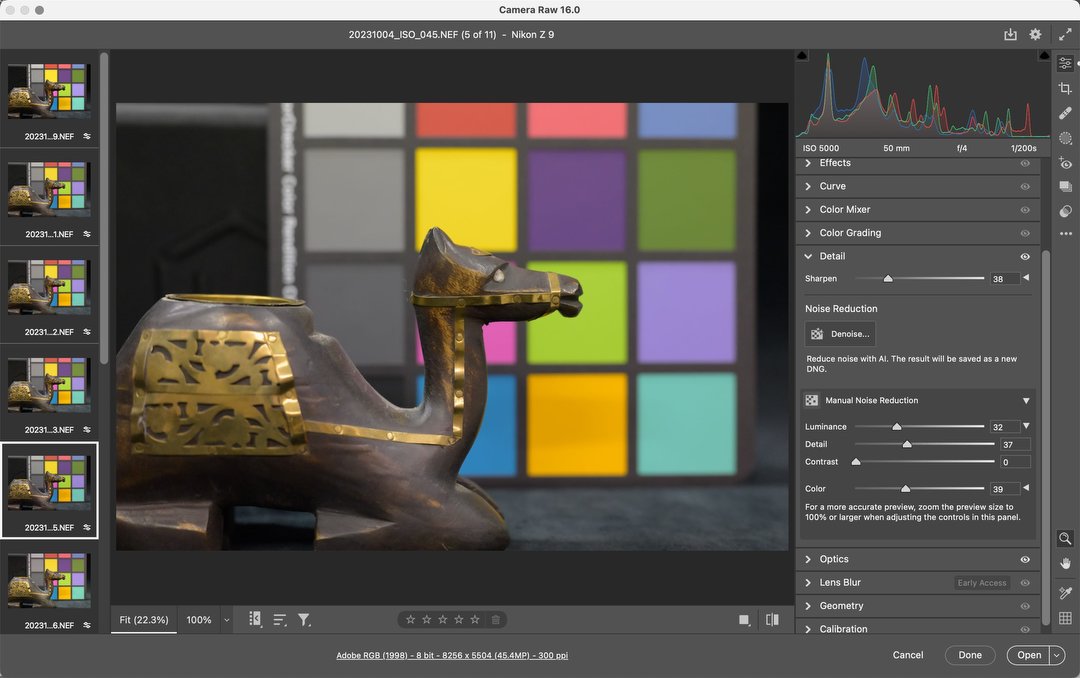
Here you can see a few of the 11 test images I shot, this one at 5000 ISO. At right the “Detail” panel is open, where I adjust the amount of noise reduction for each image individually.
After that I selected all 11 images and had Adobe Camera Raw create a “Preset.” Finally, in Camera Raw’s “Preferences –Defaults – Raw Defaults” I chose “Override global settings for specific cameras,” and told it to apply that preset to any image taken with a Nikon Z 9 or Z 8 camera (the Z 8 uses the same sensor as the Z 9). You can find detailed instructions from Adobe on how to do this here.
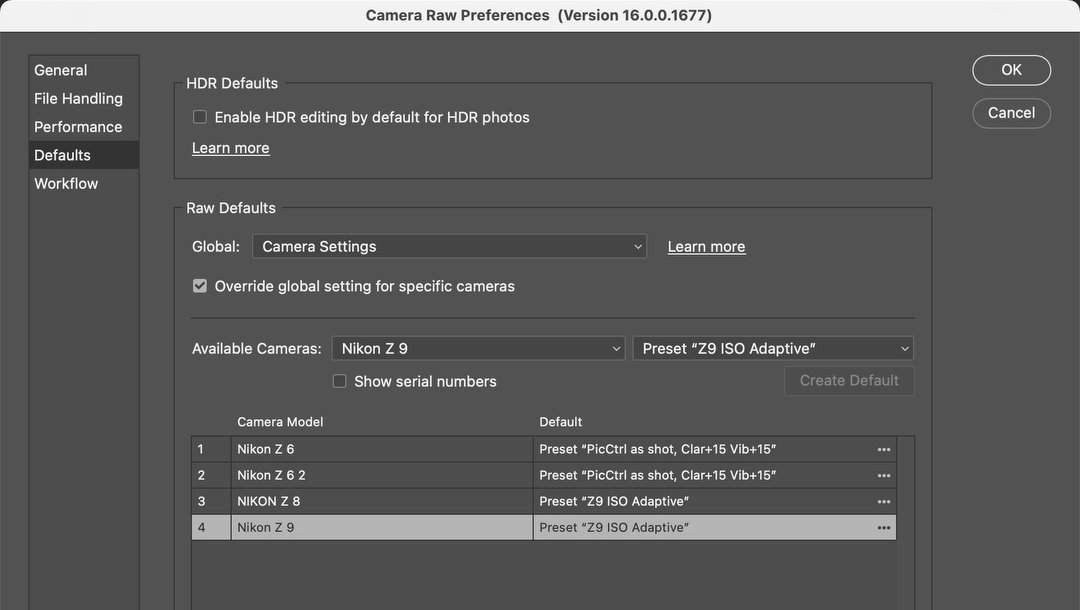
This is where, in Camera Raw Preferences, I tell the software what Preset I want applied based on the camera model it detects.
Now for the fun part. Once I’ve done that, any image shot with my Nikon Z 9 or Z 8 cameras has that automatically applied to every image I open in Camera Raw, without me needing to do anything. And if the photo is shot at an ISO that’s not among the 11 I used to build the preset, it automatically applies noise reduction calculated from the two nearest ISOs. Again, this part requires no extra effort on my part. Sweet!
As I said at the beginning, this is an amazing tool for any photographer using high ISOs if they’re not happy with the noise reduction that Adobe applies by default. That was exactly my situation when the Nikon Z 9 was first introduced (and for at least a year afterwards). JPEGs made at high ISO had noise reduction applied in-camera, and looked good. And Adobe’s default noise reduction for the RAW (NEF) files shot in “Lossless compression” format looked good too. But if you chose the “High efficiency” RAW format, the noise reduction was minimal at best, and not very good. I prefer to use that format because the file sizes are much smaller, yet retain nearly all the benefits of a standard RAW file. And looking for a solution to that poor noise reduction is what led me to ISO Adaptive Presets.
Lately, though, I haven’t needed to use that Preset any longer. That’s because Adobe updated how their software handles those High efficiency NEF files. Now I can simply choose “Camera Settings” as my default and get good noise reduction.
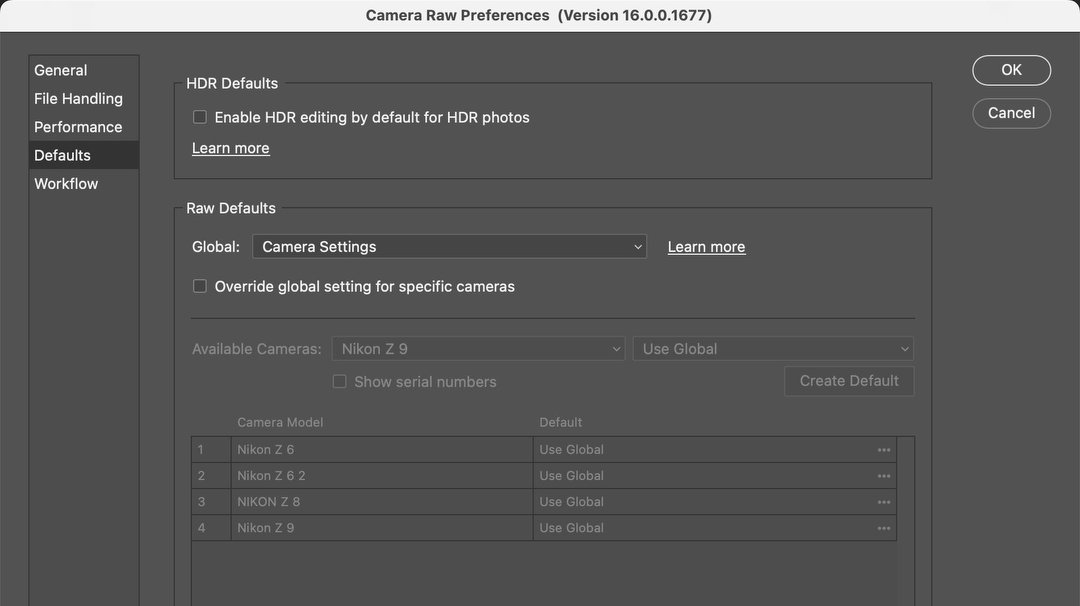
Since Adobe updated their noise reduction to work well with Nikon’s High efficiency NEF files, I can simply leave it set at “Global: Camera Settings.”
However, I’ll offer up a warning here: if you choose the “Adobe Default” instead of “Camera Settings,” you’ll once again have poor noise reduction. You’ve been warned!

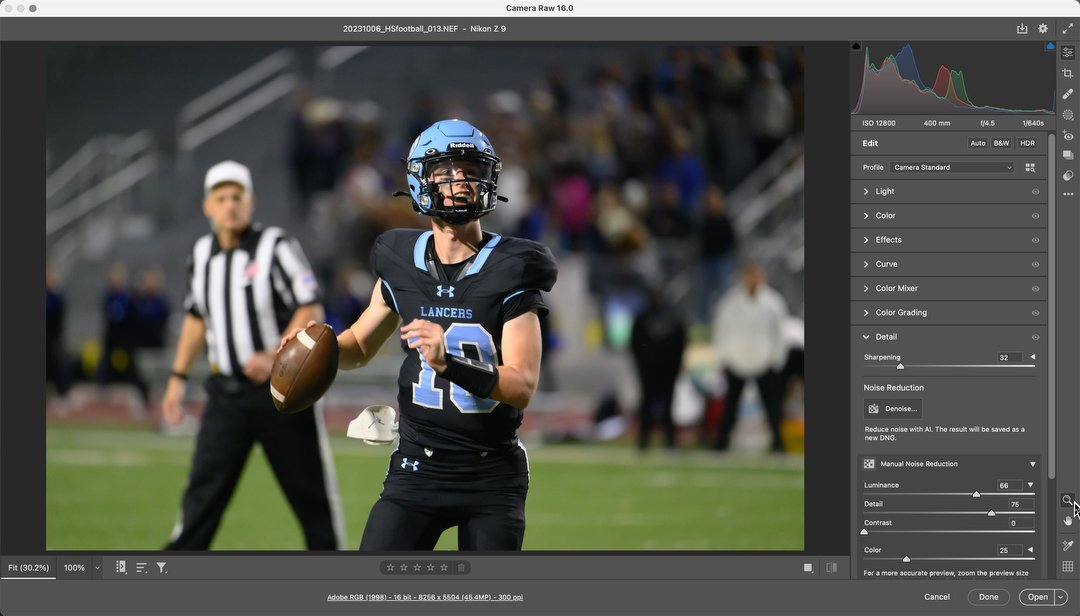
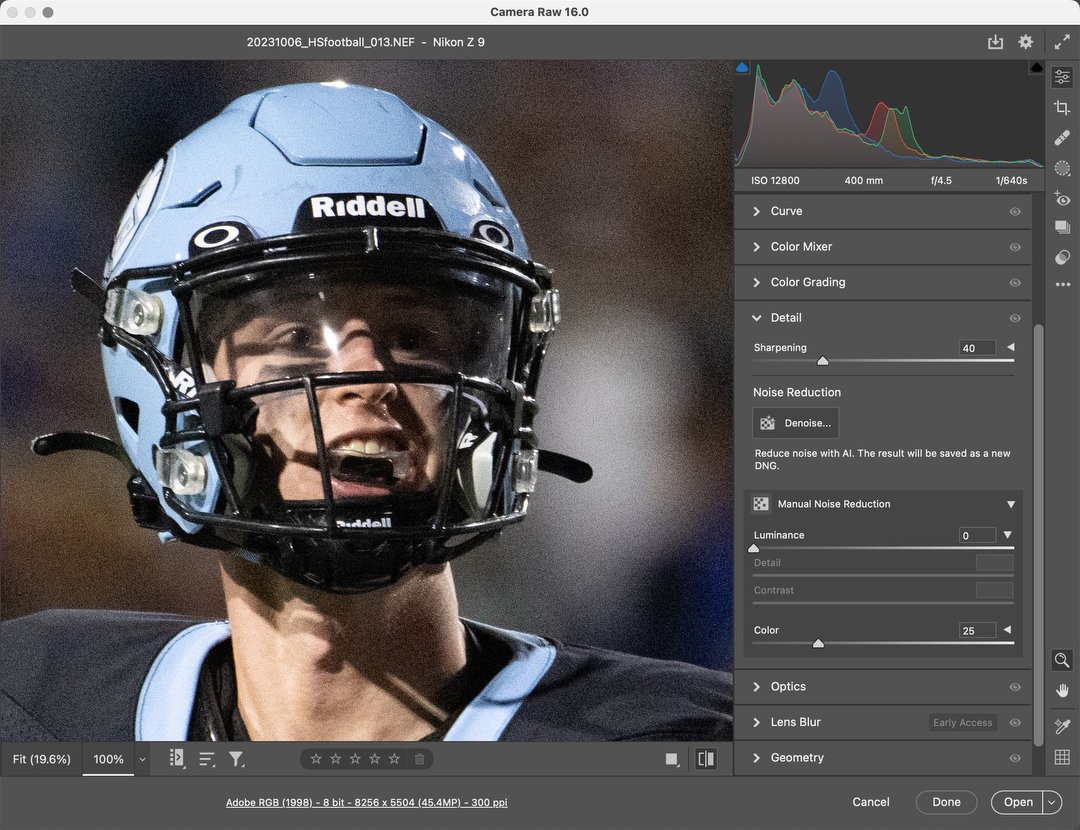
Recently I was helping a group of high school students shoot a football game, so used a higher ISO than normal since this wasn’t for a client. And you can see what a nice job of noise reduction the “Camera Settings” default still did in Camera Raw.
However, this is the same file, but I’ve changed the setting to “Adobe Default,” and now it’s much noisier and the color isn’t as nice. Yuck.
Is this better than some of the more intensive noise reduction software? No. I really like Topaz DeNoise AI for that. However, it takes longer, and honestly, I only turn to it when I have a very, very noisy image (generally both underexposed and high ISO) or when I’m going to make a large print of a high ISO image. The rest of the time, with the cameras I use and how I expose, the noise is handled well automatically.
When I started teaching digital photography back in 2002, one of my favorite sayings was, “Switching to digital is like buying a treadmill, but with no “Off” button.” To get the best quality out of your images you need to keep up with changes in both hardware and software. That’s even more true today, as our cameras offer so many more features and software choices can be overwhelming. The key is figuring out which ones can make your photography better. And stories like this, I hope, will help you do that.
(If you like this story, please share it with your friends and let them know about the links on photography that I post on my business Facebook page. I’m also on Instagram and Twitter, @reedhoffmann. And if you’re curious about the workshops I teach, you can find them here. Finally, you can subscribe to this blog on my home page.)